Since a population can contain participants from various studies (even across teams), we've built in a labeling feature to allow you to organize your populations.
Adding labels to your Hub panel allows you to
- Build flexible lists for any need.
- Avoid cross-communication between teams and studies
- Create a feedback council
- Invite one person or large groups to your private projects in a couple clicks
You can apply multiple labels to a participant, and you're welcome to create as many labels as you want. Color-coding provides some additional help in differentiating one label from another.
Check out this video to learn how to segment your panel!
Add labels to participants
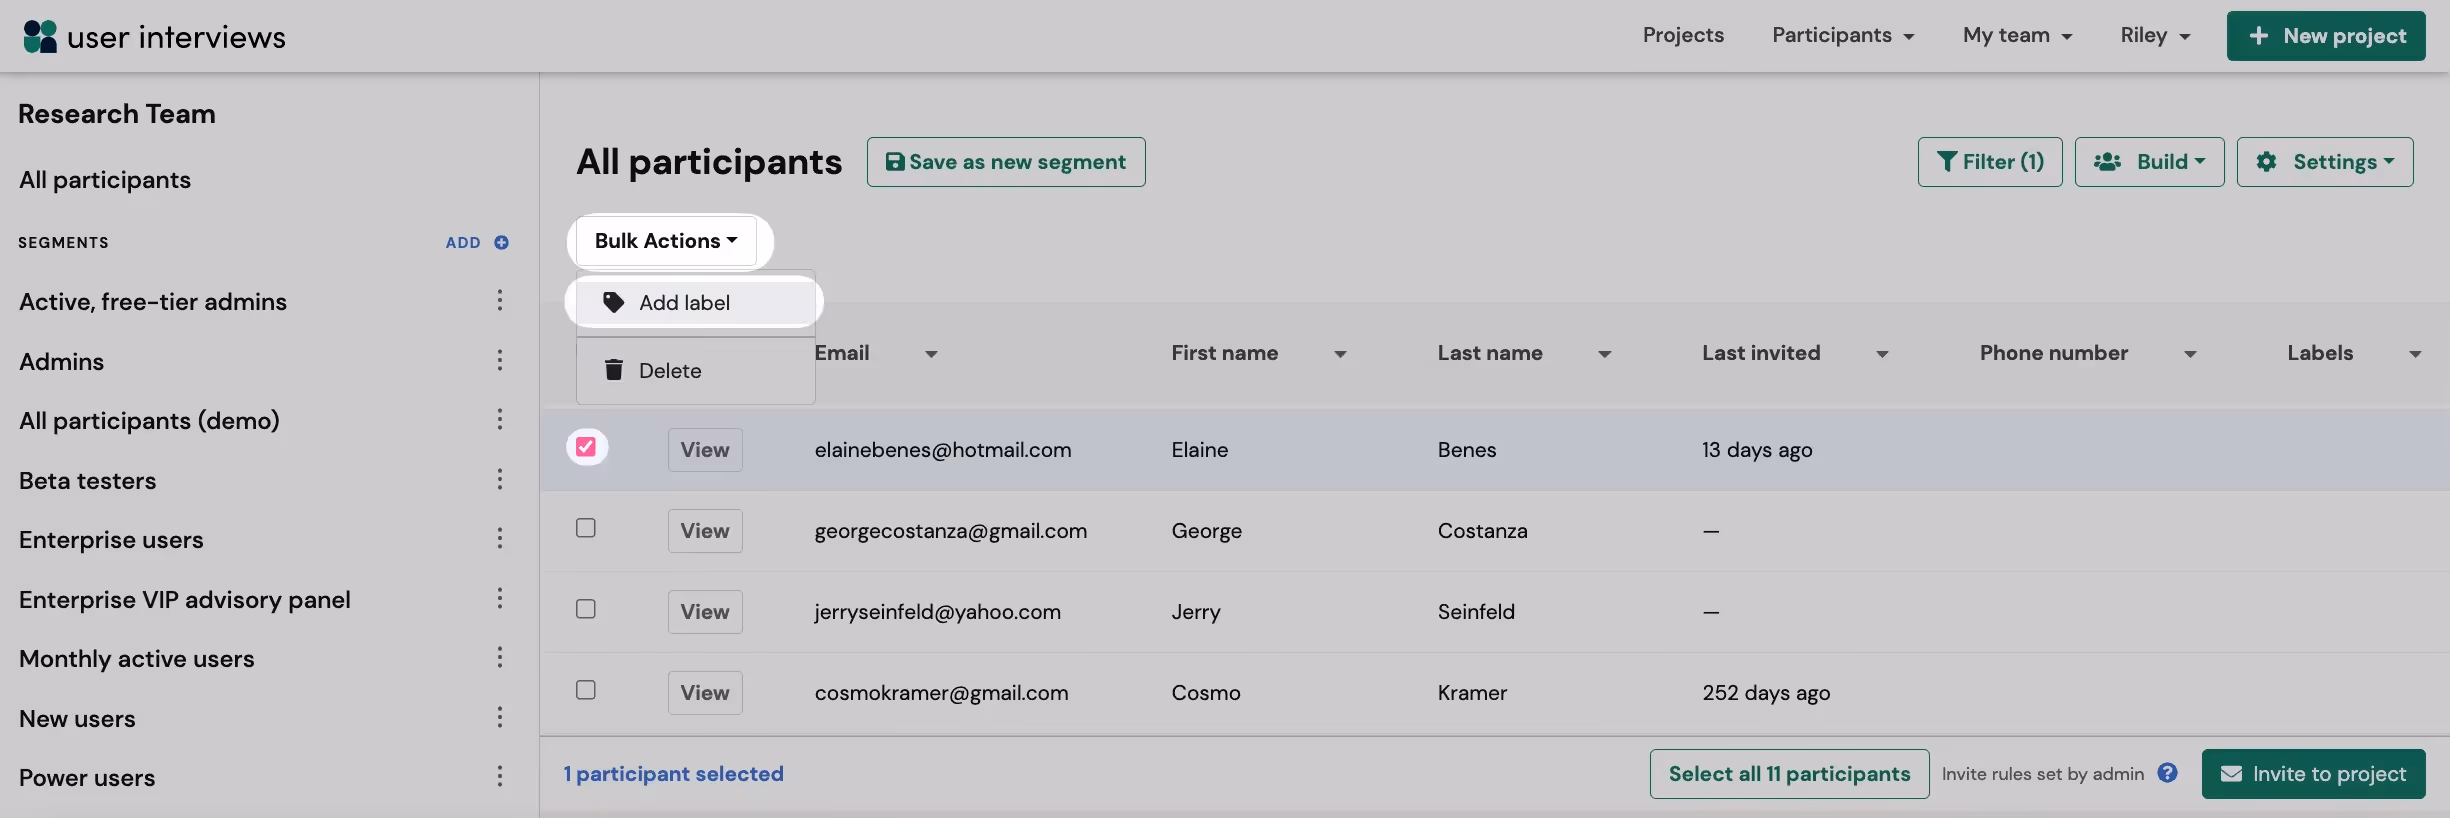
1. Use the checkbox to select the participants you want to label.
2. Click "Bulk Actions" and select "Add label" from the dropdown.
3. Start typing to select an existing label or to create a new one.
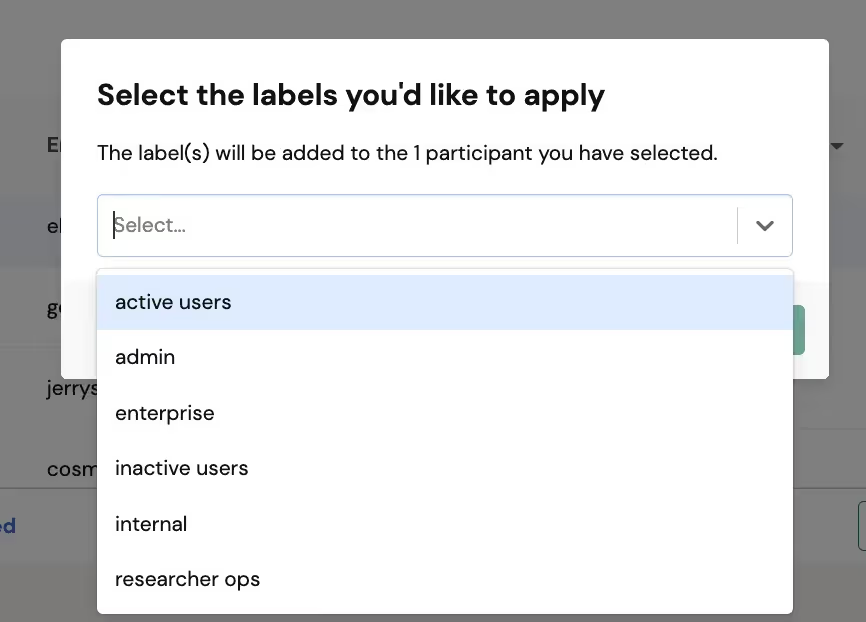
4.Click "Add" to apply the label to the selected group.
Create new labels
To create a new label, first select at least one participant you want to assign that label to. Choose "Bulk Actions" and click "Add label" from the dropdown. Begin typing the new label and click "Create new label".

Remove a label from a participant
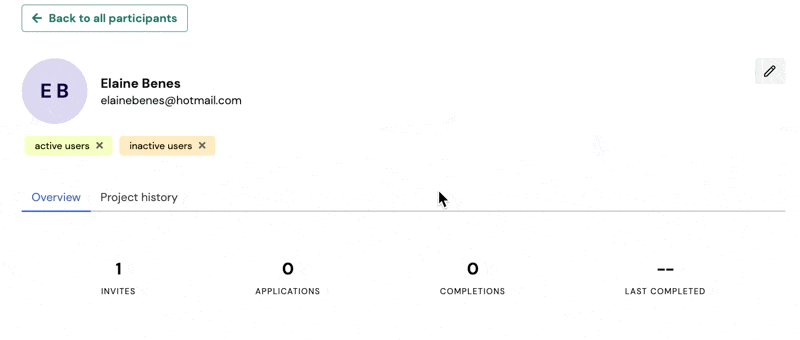
You can remove labels from any participant within their profile. Click "View" next to their name from your list. This will take you to their unique profile. Once there, click the "x" next to the label you'd like to remove.
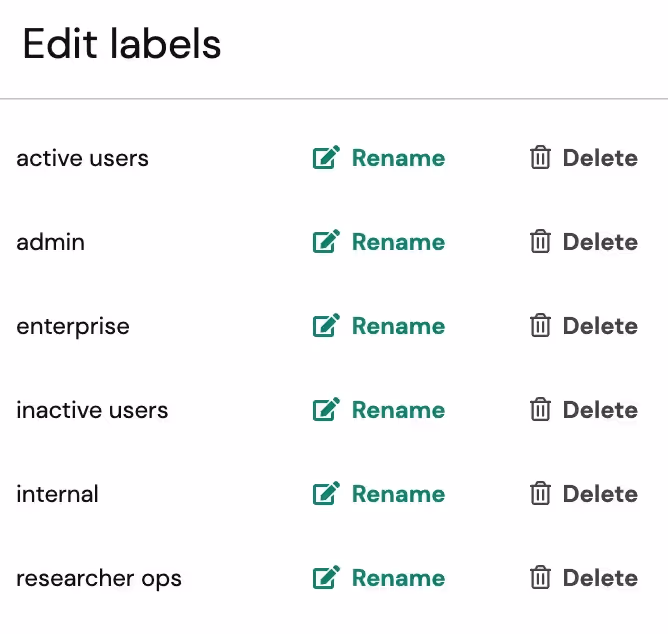
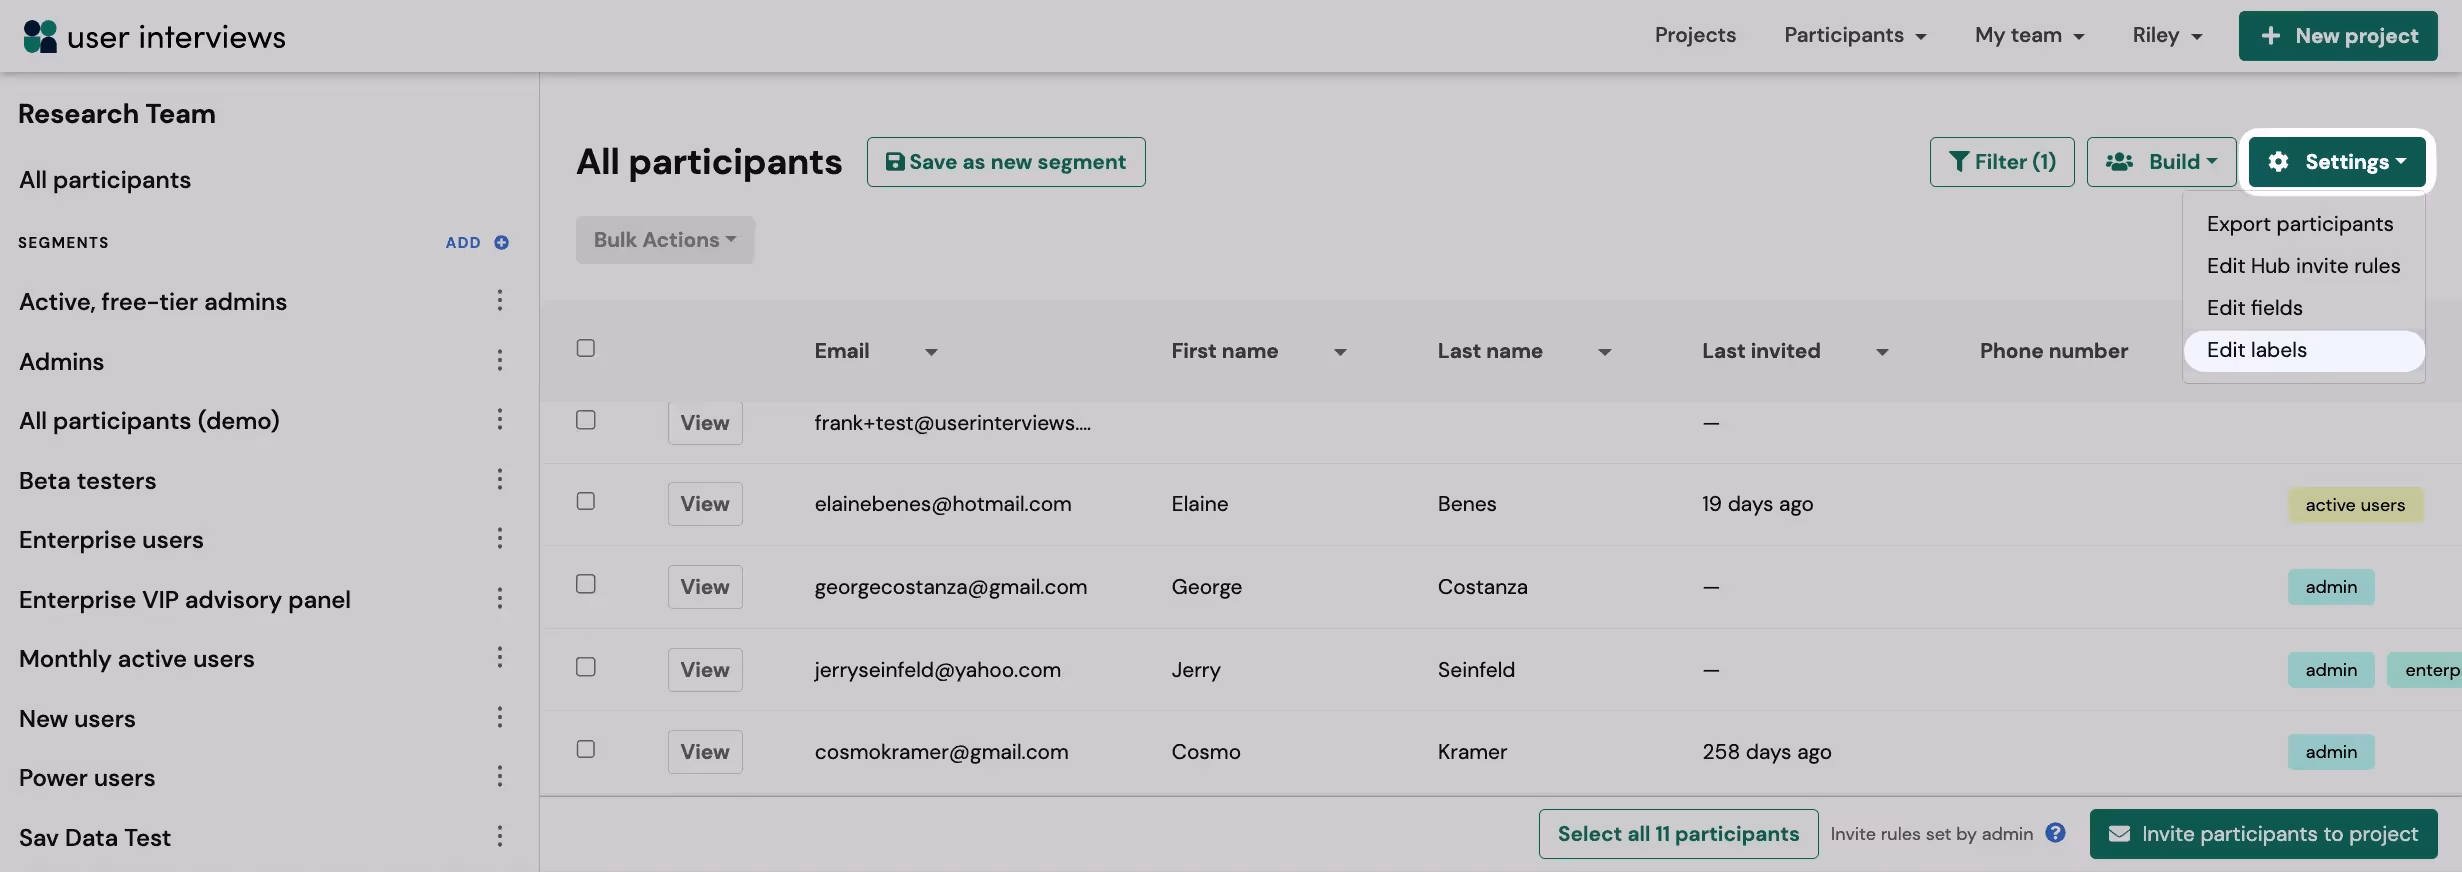
Edit labels
To edit your existing labels, click "Settings" and select "Edit labels" from the dropdown.
From there, you'll be able to rename or delete existing labels. These changes will be reflected on all participants the label is applied to.