
Researchers often ask us what their participants will experience when taking part in a study on Research Hub. We know that providing a great participant experience is paramount, especially when conducting research with real customers. We’ve created a simple flow of communication from sign up, to redeeming incentives, and every step in between.
Below, you can check out a guided tour of the Hub participant experience to better understand your users' experience when they participate in a study.
Step into the shoes of your participants as they progress through the lifecycle of your study:
- 💌 Getting invited to the study
- ✅ Signing up to participate
- 📝 Filling out the screener survey
- 📆 Getting approved and scheduling a session
- 🔔 Receiving confirmations and reminders
- 💰 Redeeming an incentive upon completion
💡 Note that all of the participant-facing emails and communications featured in this support article are examples only. These templates are fully editable for your project.
The following example walks through a moderated study from the point of view of your participants. If you’re interested in seeing what an unmoderated study looks like, scroll to the bottom of this support guide for a quick overview of key differences.
Step 1: 💌 Getting invited to the study
Participants are invited to your study one of two ways:
- Email invitation: upload a CSV, or select contacts from your Hub panel
- Project link: link to your project application form from your website, marketing campaign, email newsletter, or any type of customer communication
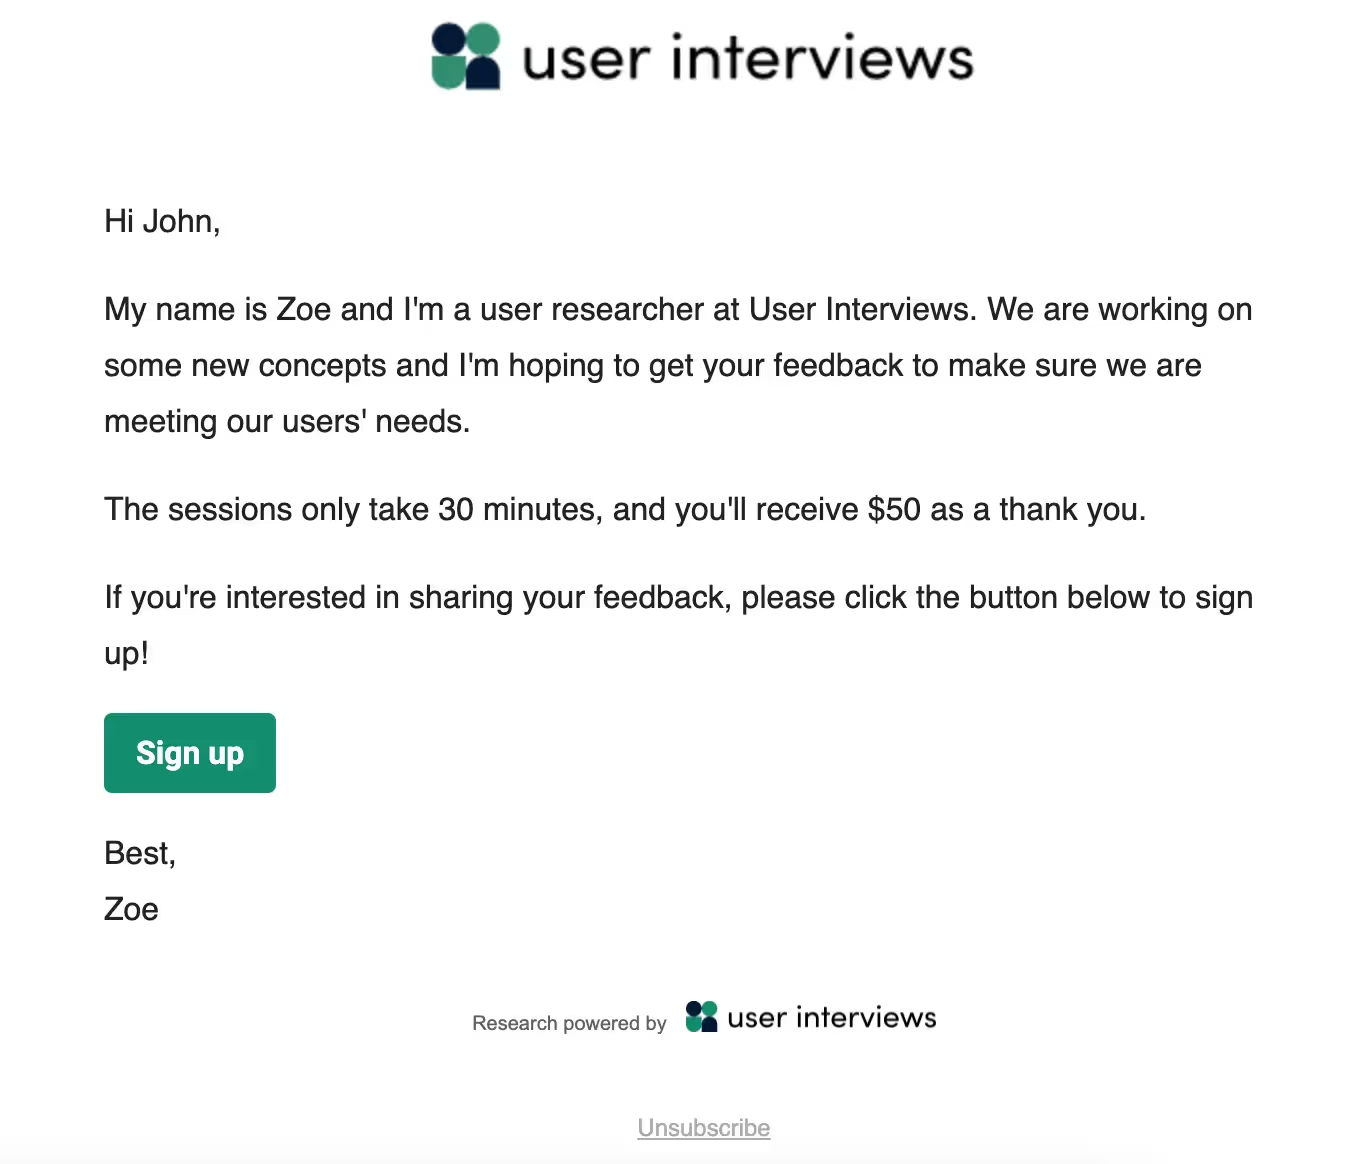
If you use the email invitation method, your invitees will receive an automated email with all the relevant details they’ll need to know before signing up.The language in this invitation email can be edited, and it includes a button linking to your project’s sign up form.
💡 Further customizations are available with a paid Hub subscription: include your company’s branding, authenticate your domain to create sender profiles, and manage a library of email templates.
If you use the project link method, you’ll be promoting this study off-platform, via your own customer communication. We recommend providing important context and details about the study within your communication, to entice users to apply — for example, what the study’s about, how much time it will take, and any incentives being offered — as this information is not included in the sign up form.

Step 2: ✅ Signing up to participate
All roads lead to the sign up form! Invitees will apply to participate in your study by filling out some basic contact information. If they are a new participant, they will be added to your panel in Research Hub so you can access them in future. If their email address already exists within your panel, any new or updated information they provide on the sign up form will refresh their contact record in Research Hub.
💡 If you’re on a paid Hub subscription, you have the option to include a custom data consent notice on your sign up form, requesting explicit consent before collecting user data.

Step 3: 📝 Filling out the screener survey
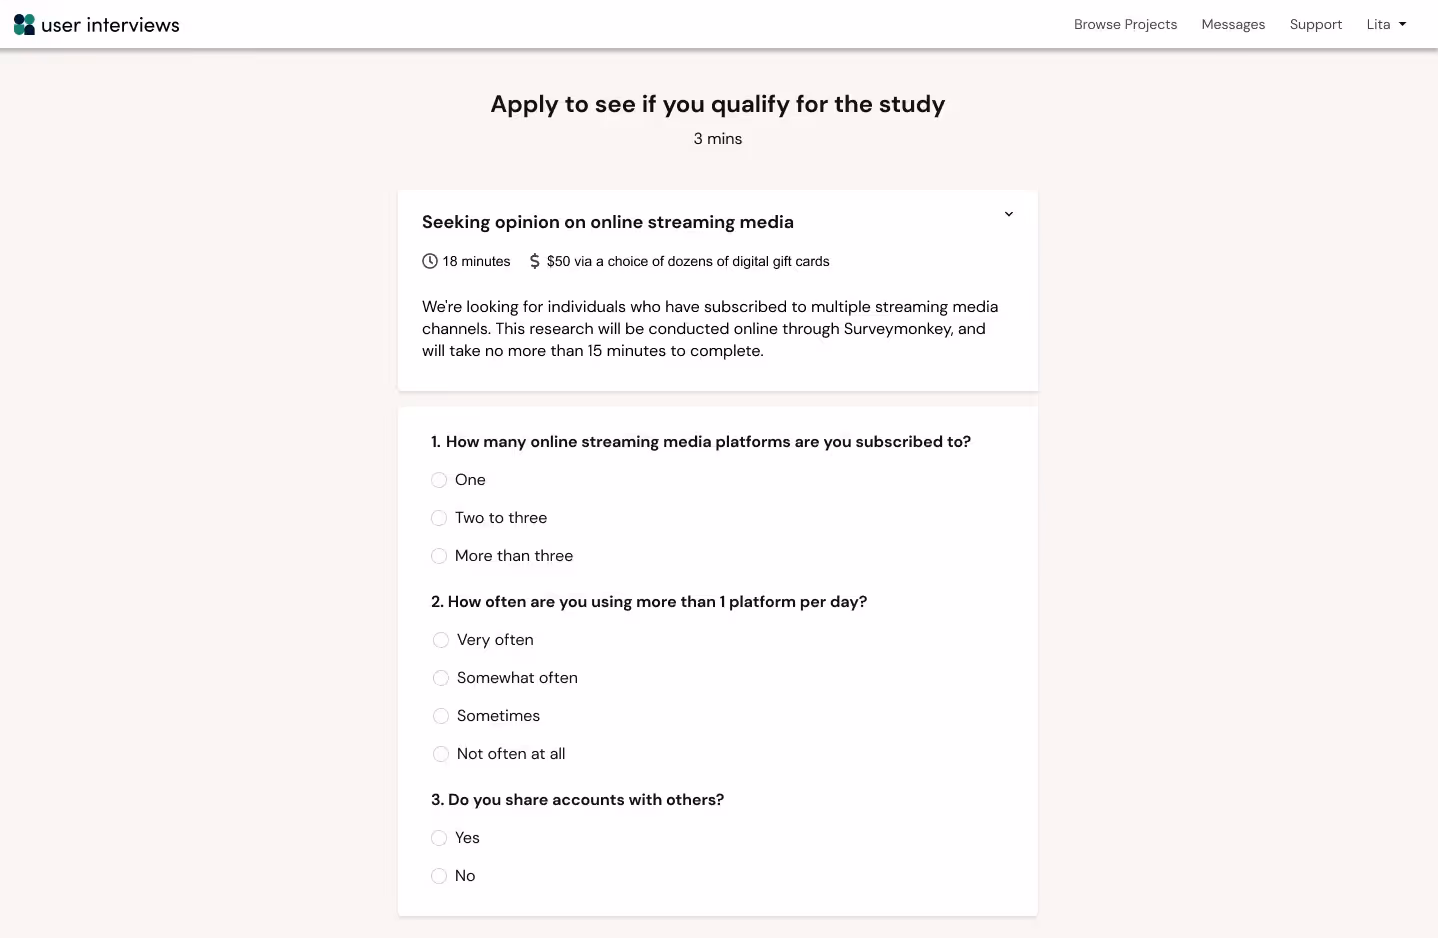
Immediately after submitting the project sign up form, users will be prompted to fill out your screener survey, if you’ve created one. Your screener may be short and sweet like the example here, or they may include as many questions, pages, and as much skip logic as you need.
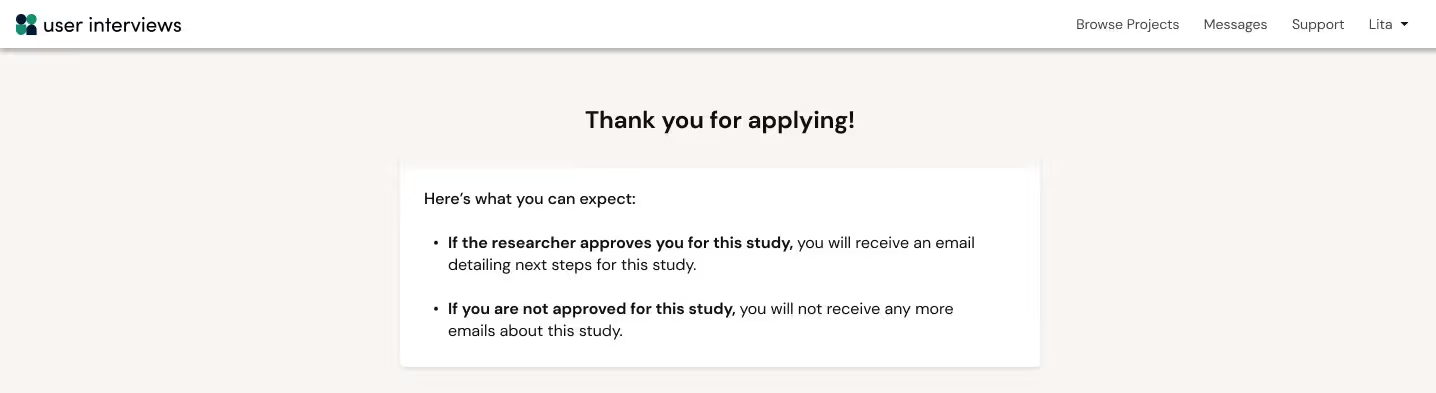
After completing the screener survey, participants will arrive at a page confirming their application has been submitted. If they are approved for the study, their experience will continue to the next step. If not, this is the last interaction they will have with our system, until you invite them to another study.
Step 4:📆 Getting approved and scheduling a session
When an applicant is approved for a study, they’ll receive an automated email prompting them to confirm their participation. It will include a link to schedule a session if it’s a moderated study, or else a link to confirm they’re able to complete the task by the deadline in the case of an unmoderated study. This email also includes study details such as project title, description, and incentive amount.

Approved participants can click on the button in the confirmation email to pick a time slot. The time slots available to them will reflect your scheduling settings for the study.
If participants cannot find any time slots that match their availability, they will have the option to propose alternative session times to the researcher.

💡 Note that this is the point at which participants will be presented with a document to sign, such as an NDA, if you’ve set one up for your project. Document signing is a paid add-on.
Step 5: 🔔 Receiving confirmations and reminders
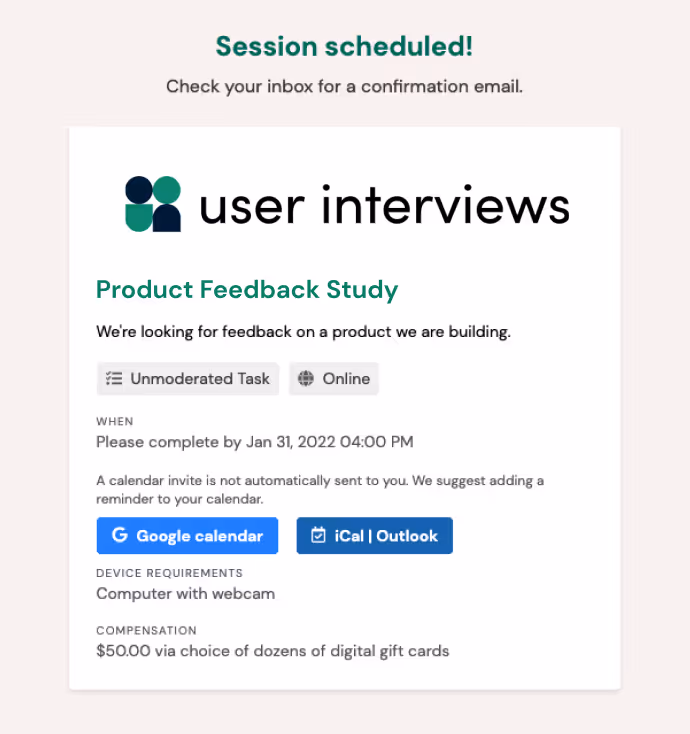
Upon confirming their participation and booking their session, participants will see a session confirmation screen, and receive a confirmation email. It will include information they’ll need ahead of their session — “add to calendar” link, location details, and any instructions specified by the researcher.
💡 It's important that, as a researcher, you update your confirmation email before approving any participants to ensure they will receive the most accurate information at the time of sign up.

24 hours before their scheduled session, participants will receive a reminder email reiterating the key information they need to know to successfully participate in the study.

💡 If you or the participant need to cancel or reschedule for any reason, relevant notifications will be sent to each party, and the participant will be prompted to rebook.
Step 6: 💰 Redeeming an incentive upon completion
After a session or task has been completed, the researcher will be prompted to mark participation in the system. At this point, the participant will receive an email thanking them for their participation and providing next steps for redeeming their incentive, if you’re distributing incentives via our platform.

After redeeming an incentive, participants will receive one final email serving as a record of payment for this project.
💡 Remember, all of the email templates included in this article are editable at the project level. Learn more about editing email templates and paid Hub customizations.
How does the participant experience differ for an unmoderated study?
Our unmoderated study experience has been adapted to be simple for participants and hands-off for researchers. We call it “smart flow”, because regardless of how you set up your study, the participant experience will automatically flex to accommodate the customizations you’ve selected!
Some unmoderated studies are simple. Others need manual reviews, careful screening, or document signing. Let's walk through a couple of examples.
Simple unmoderated flow
In the simplest study where you’re not using a screener and you’ve selected automatic approval, your participants can go directly from invite to task in a single step.

More complex unmoderated flow
In a more complex study where you have a screener survey, you’re doing manual approvals, and you require a document to be signed, we can handle that too! Simply make your selections in the project builder, and our participant communication will flex up to accommodate.


