_1.avif)
Who is this article for?
🗣️ All researchers
⭐️ For any User Interviews plan
Once you’ve launched your study, you can manage everything related to participants in the “Participant management” area of the workspace.
⭐️ To learn best practices for managing live projects in UI, check out our Academy course on Managing Live Projects —>
Track and manage participant progress through your project
In the “Participant management” section of your project’s workspace, you’ll see applicants organized into clear stages of the participant “funnel” as they progress through your study. Each stage has its own set of default columns tailored specifically to that stage.
Let’s take a look at each stage and what they mean. Note that the stages shown will differ depending on the type of project. In this example, we’ll walk through a moderated Hub project:
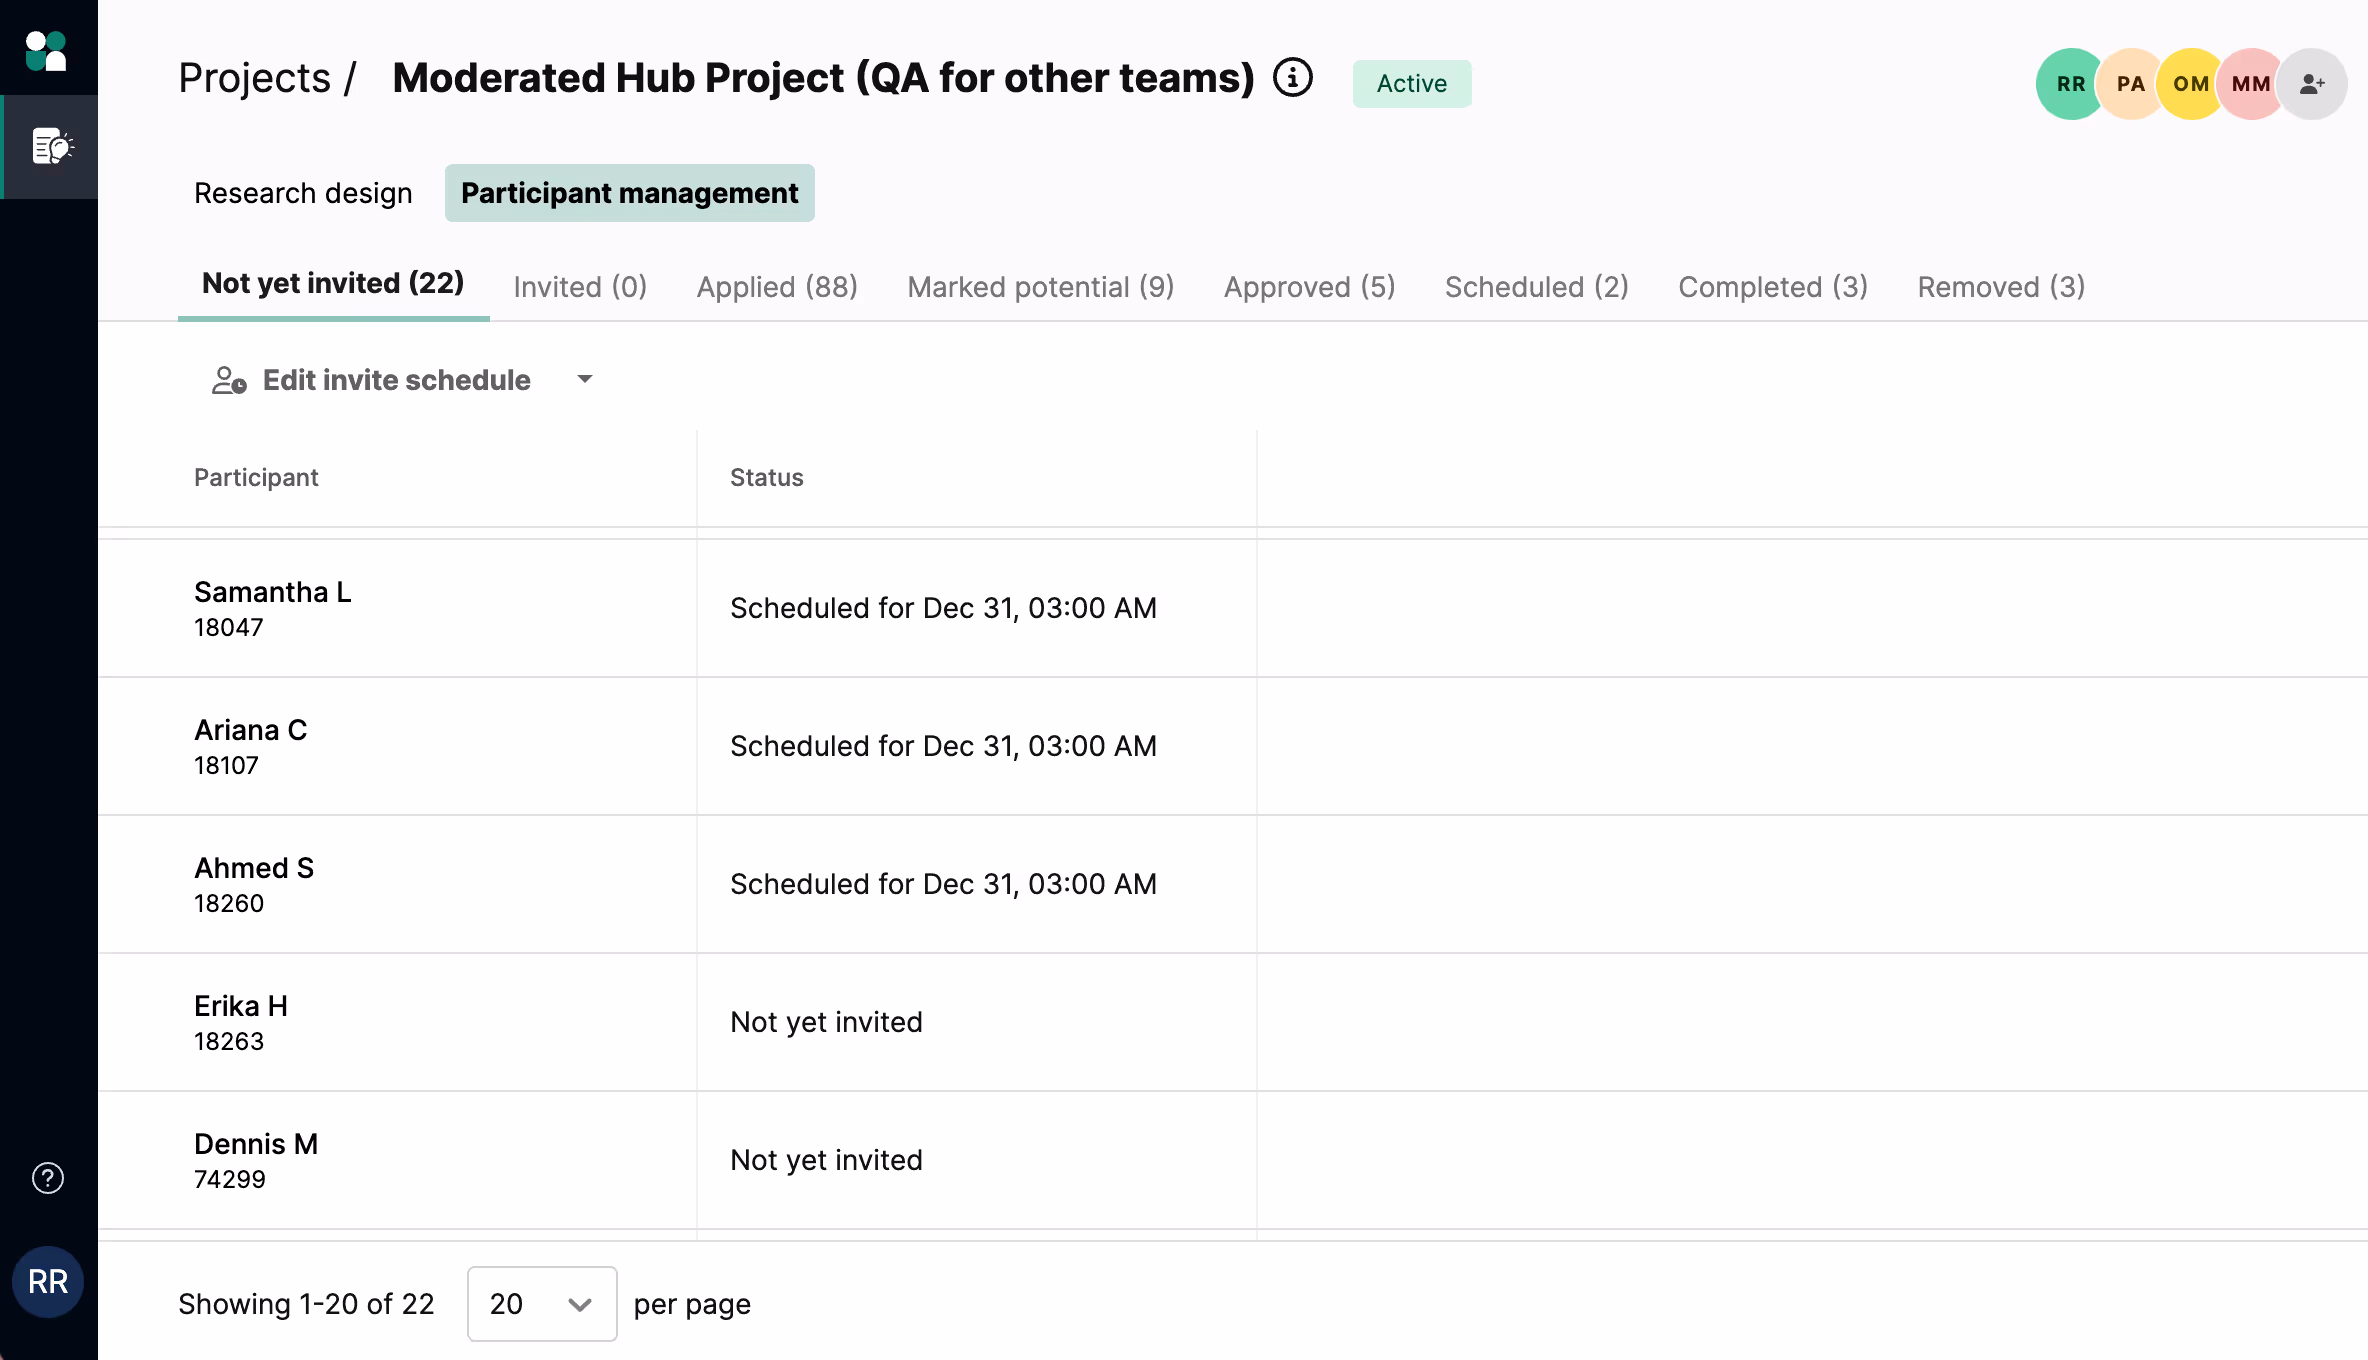
Not yet invited (Hub projects only)
This tab shows participants you’ve added to your project (via Hub or csv). This is where you can view your entire potential participant list and schedule invitations.
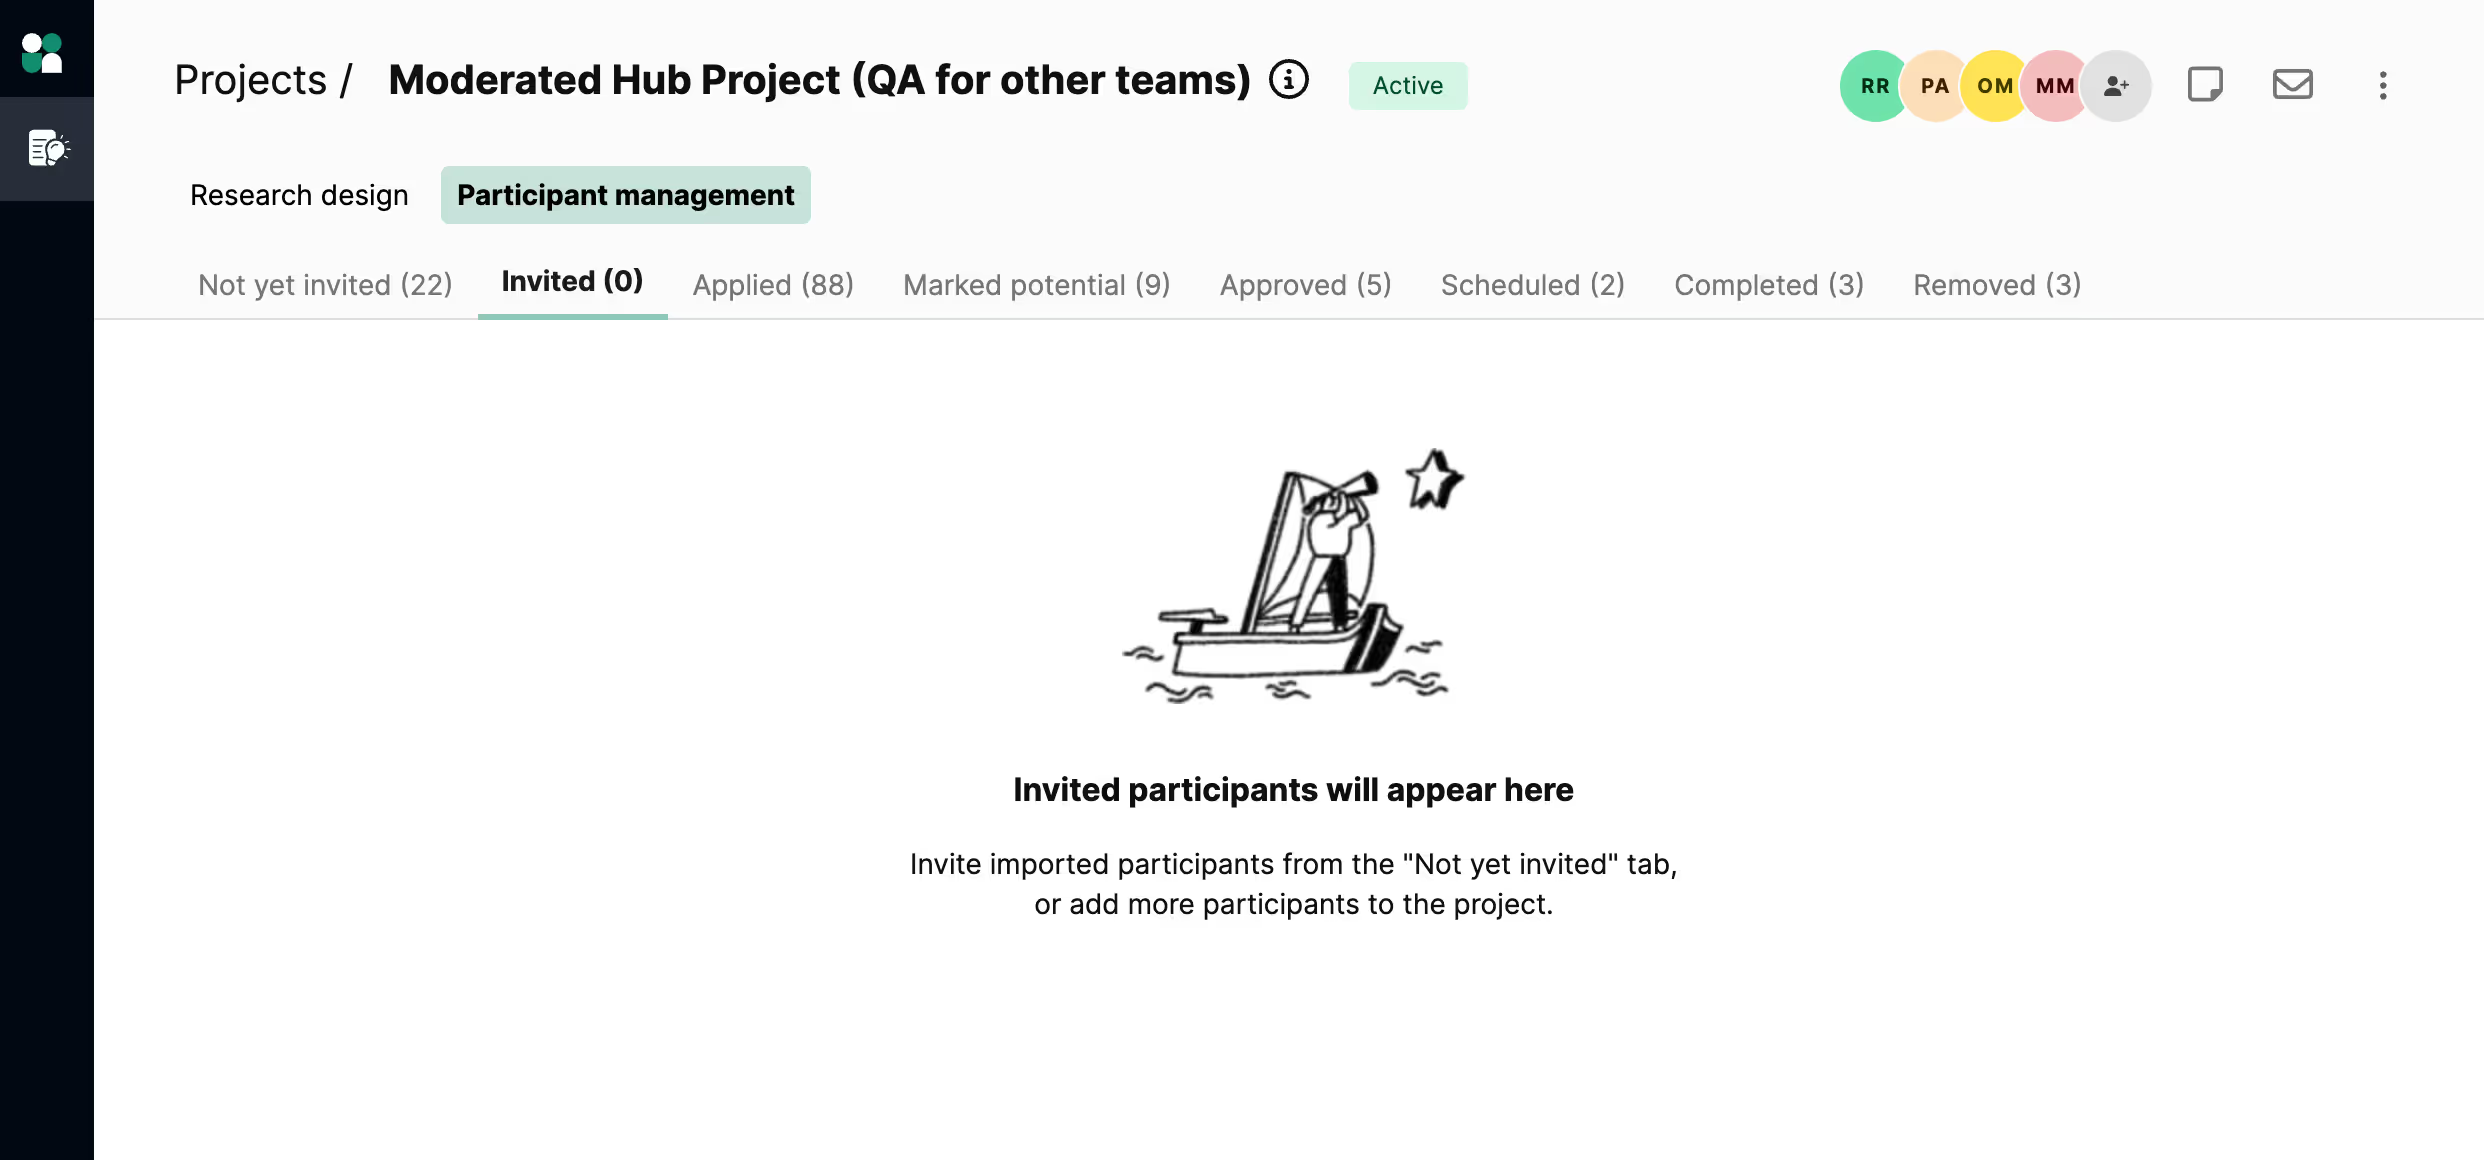
Invited (Hub projects only)
This tab shows all participants you’ve invited to your project but haven’t applied yet.
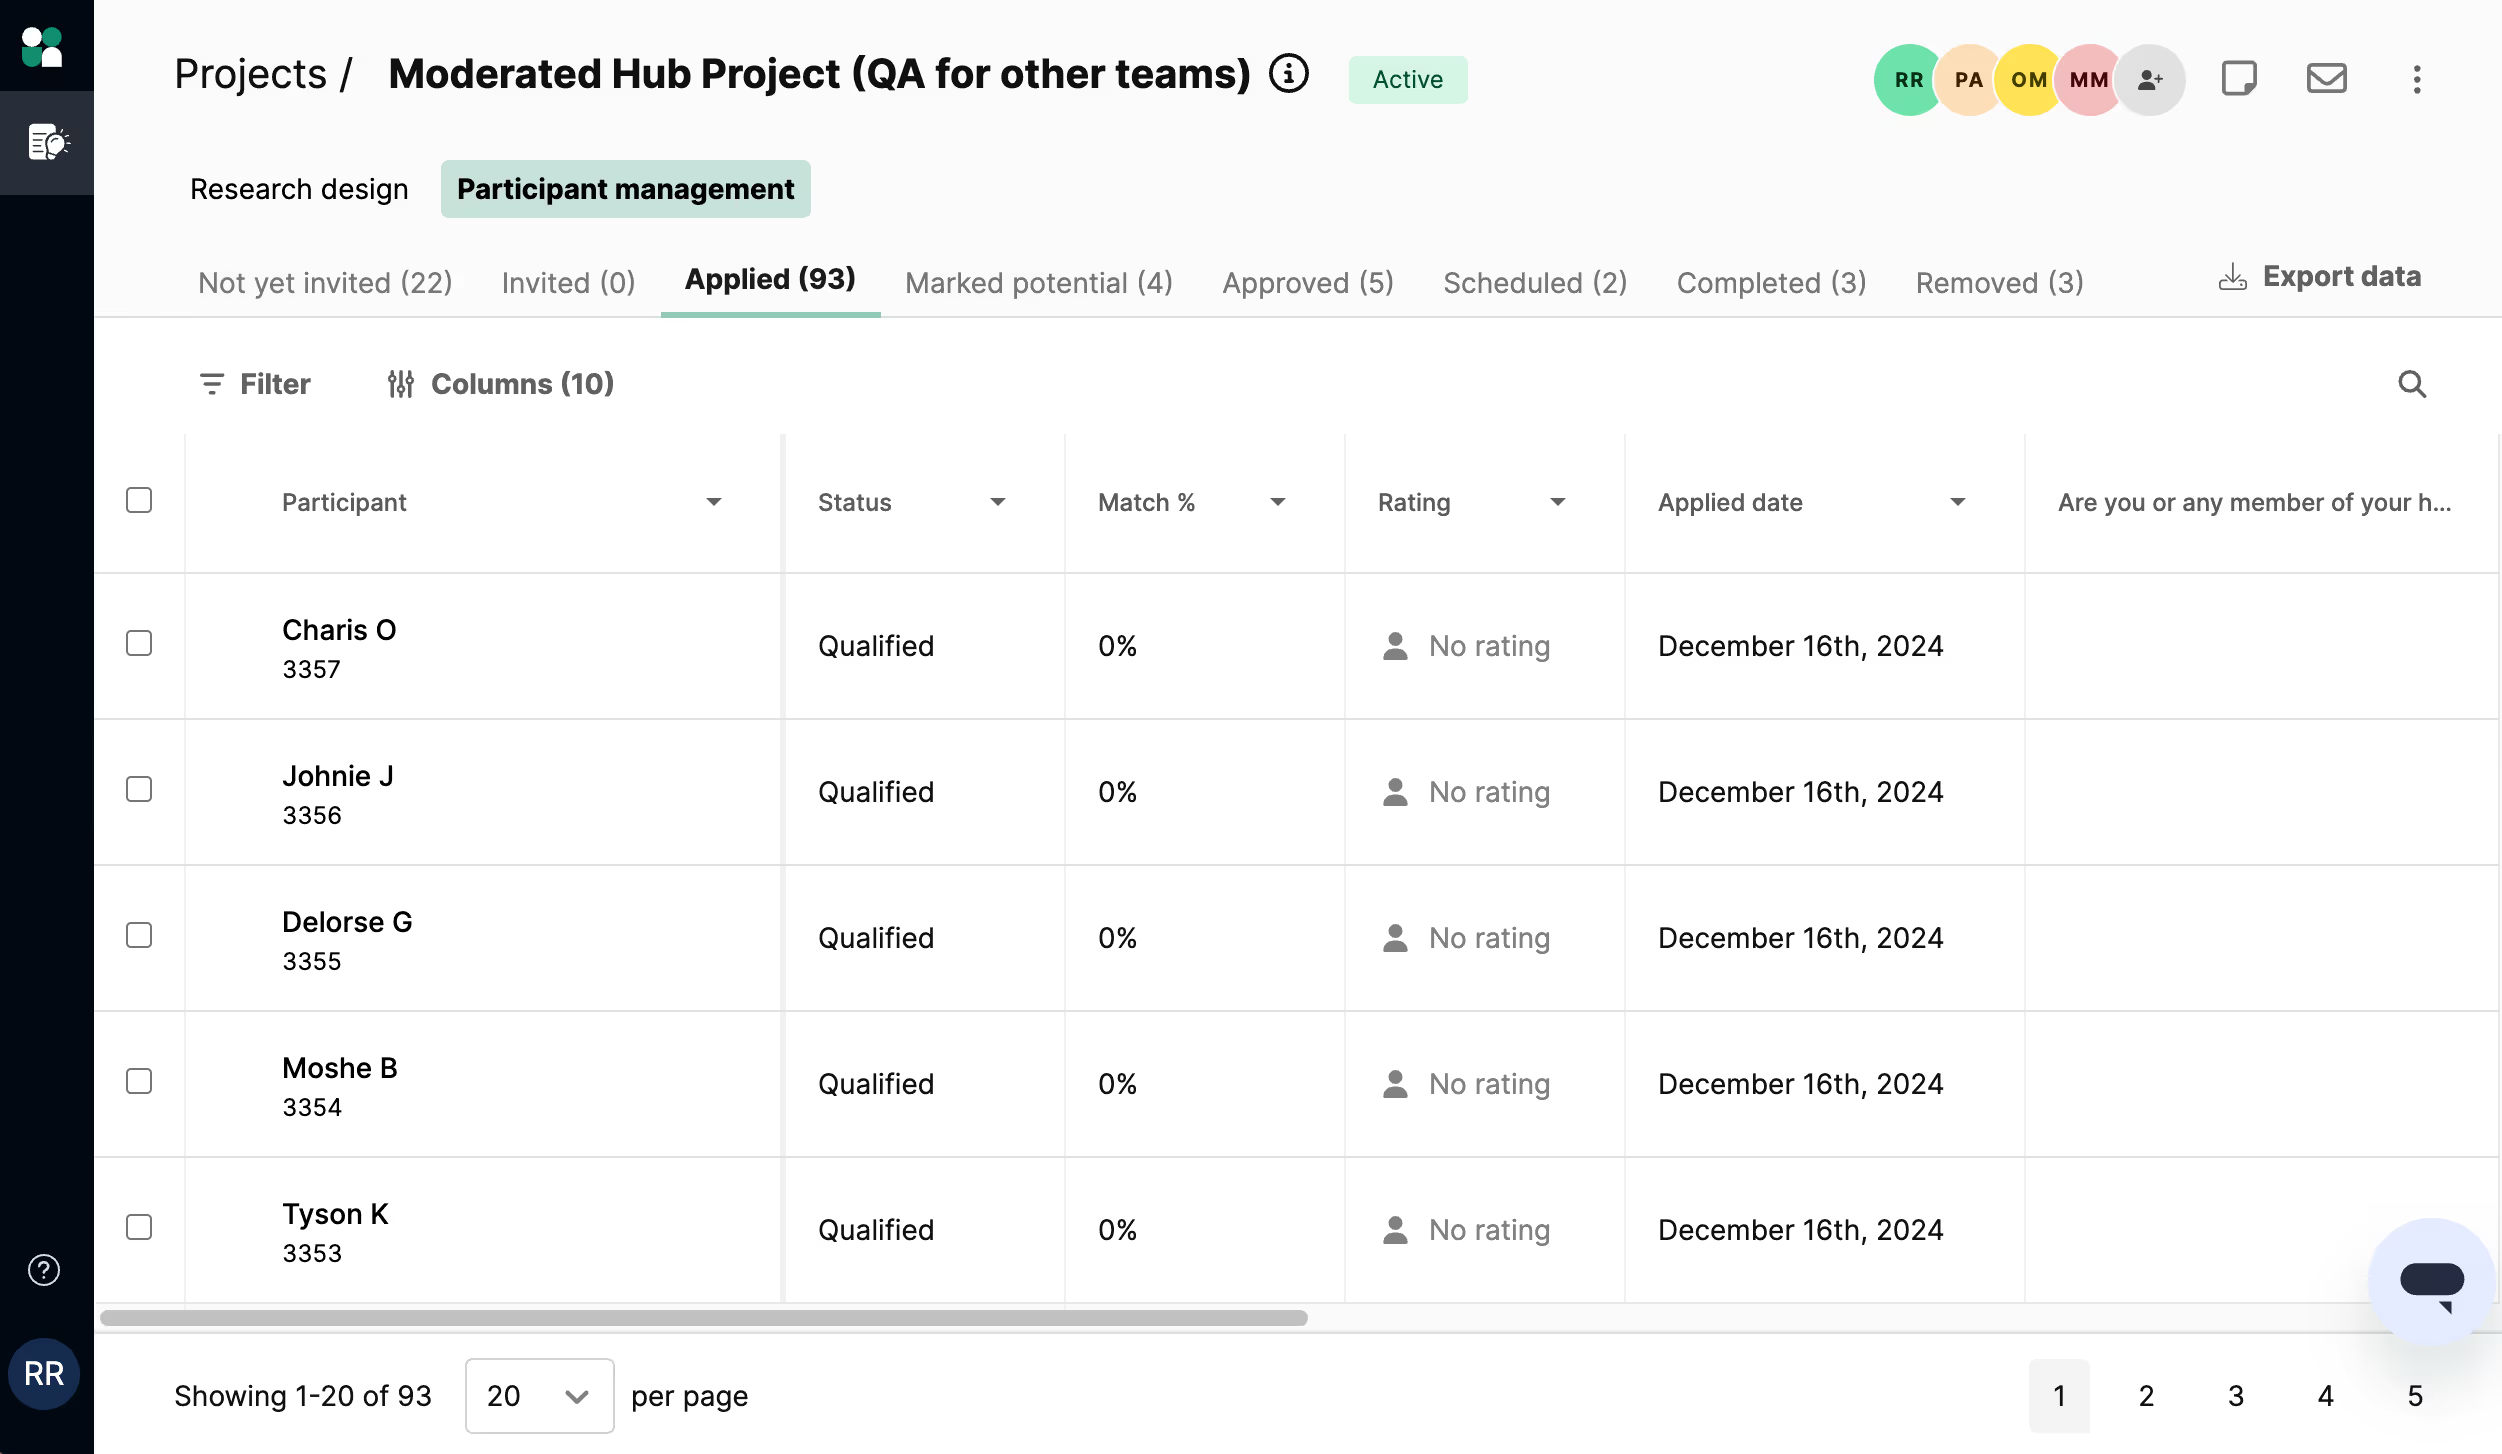
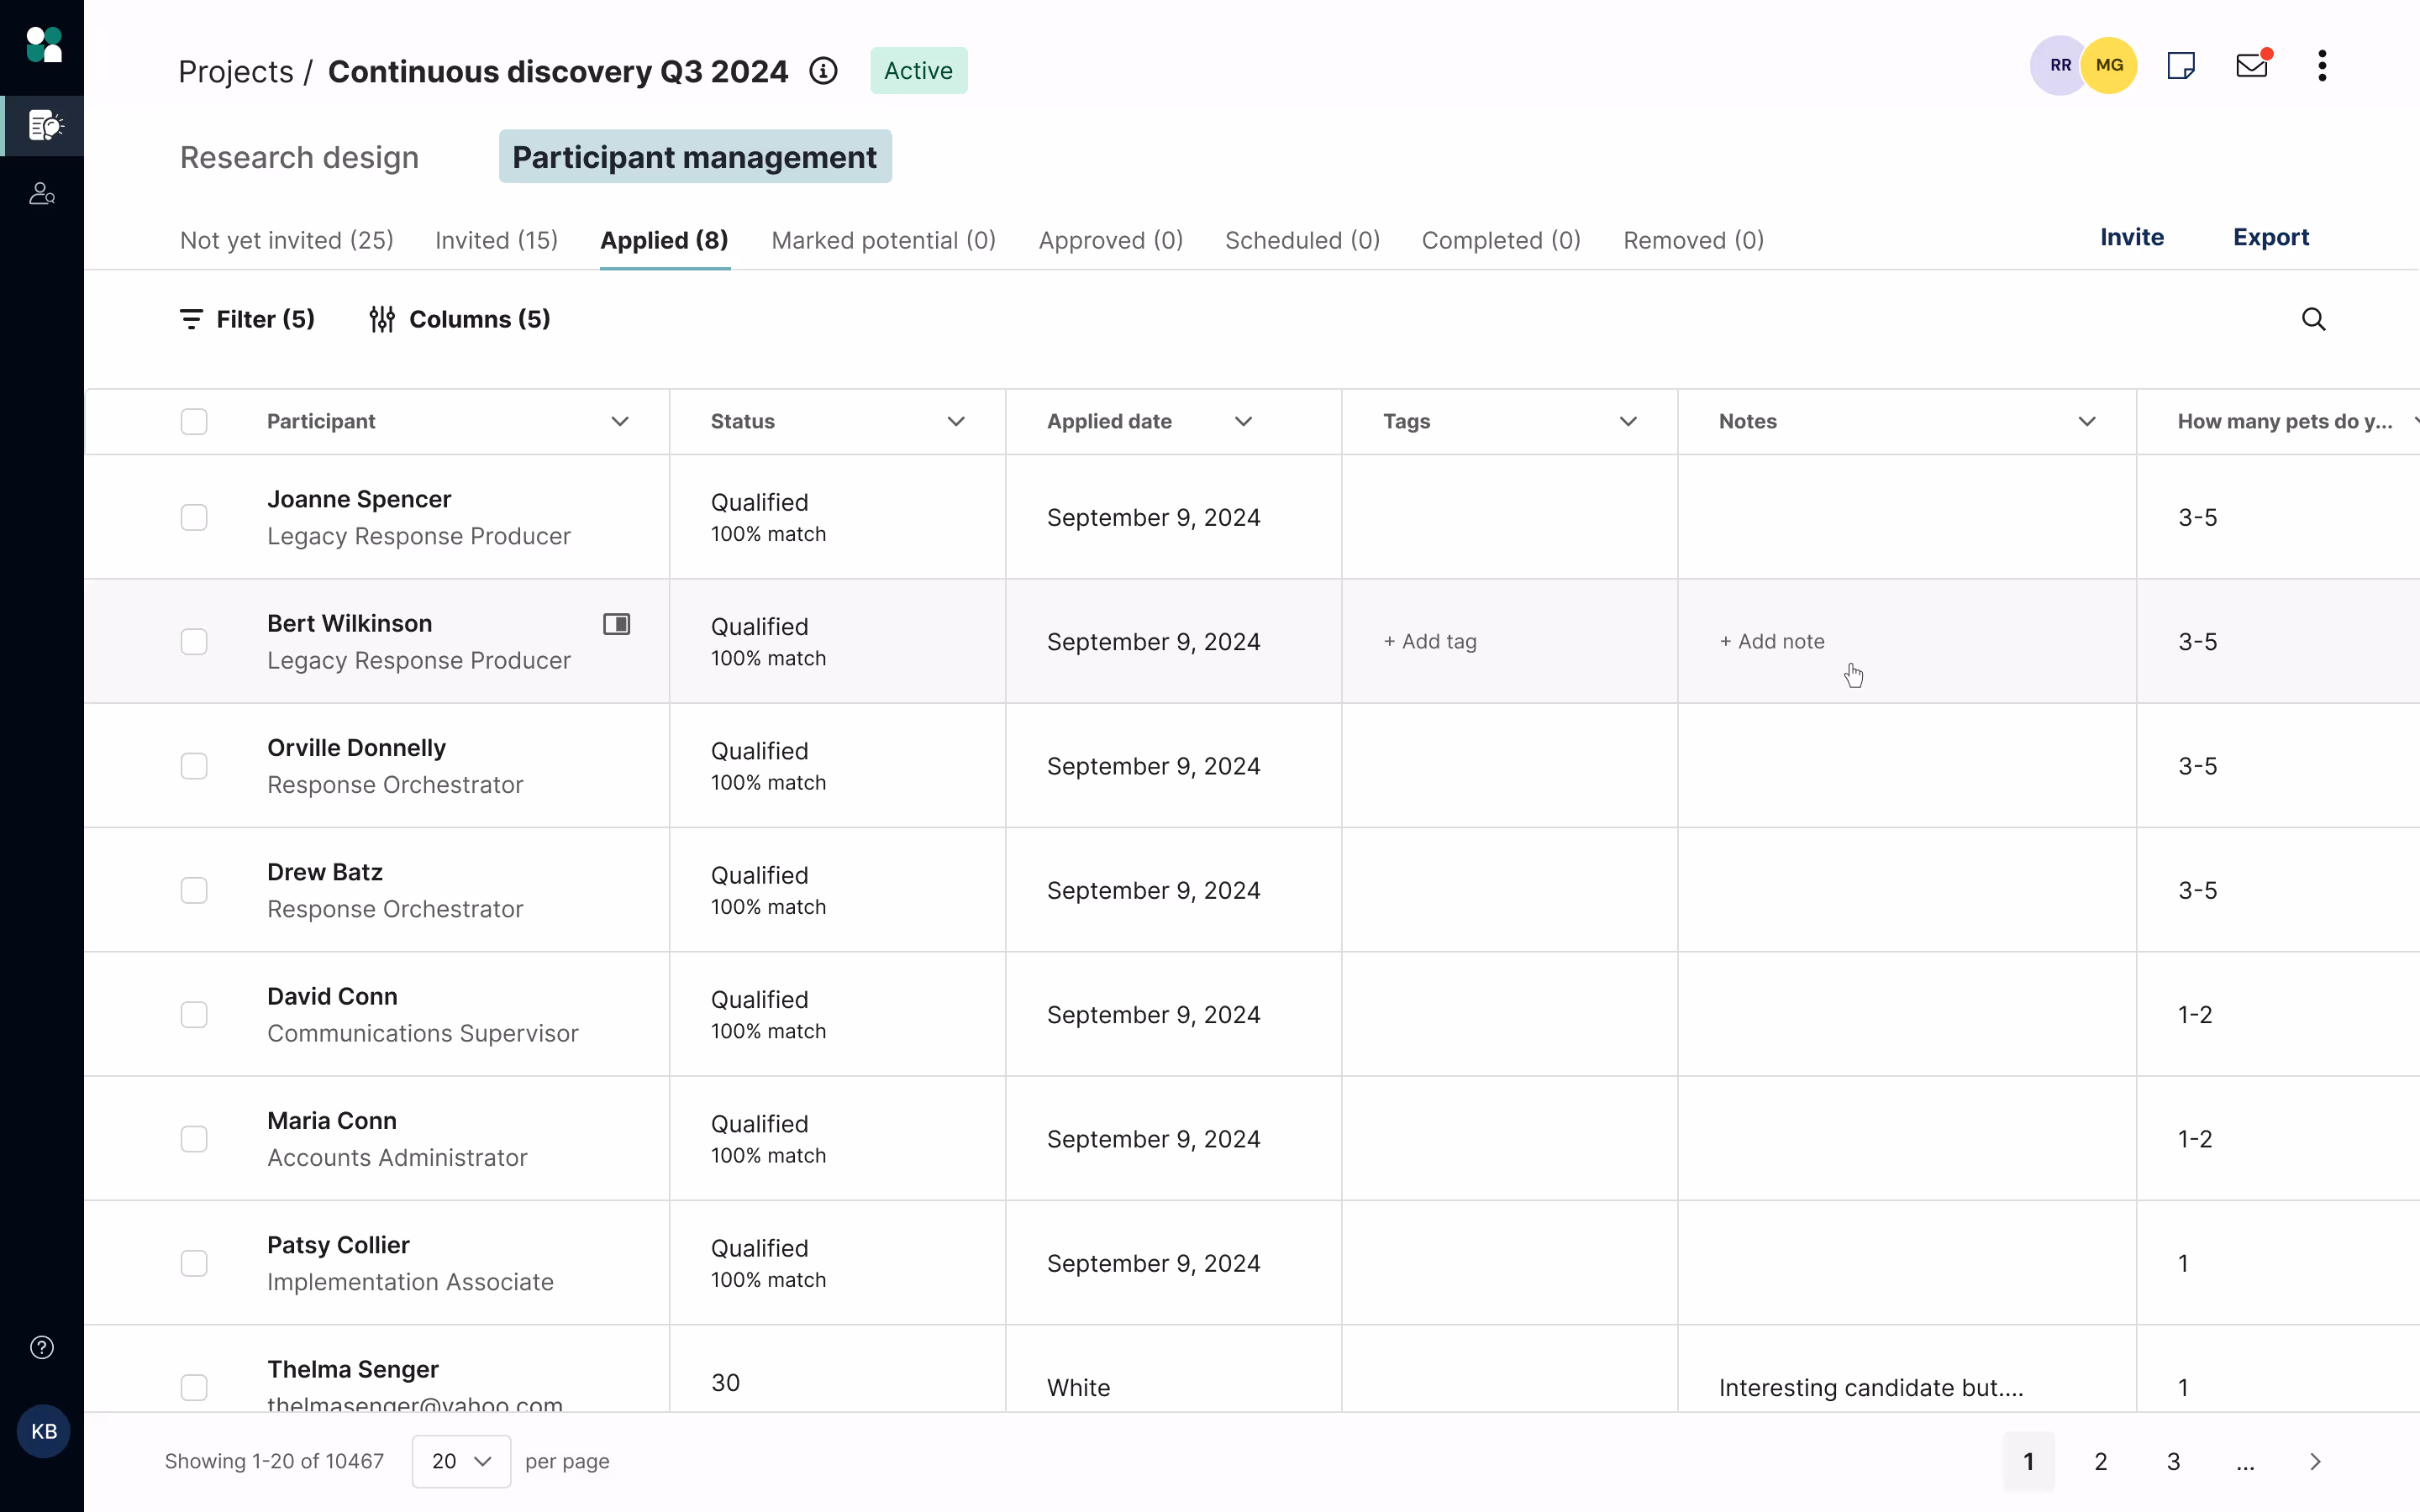
Applied
This tab shows all participants who have applied to your project. This refers to participants who are interested in participating and have completed your screener survey (if you included one).
💡Note: If automatic review is enabled for your project, any participants who are a 100% match to your screener and set characteristics will automatically skip this step and move into the “Approved” stage.
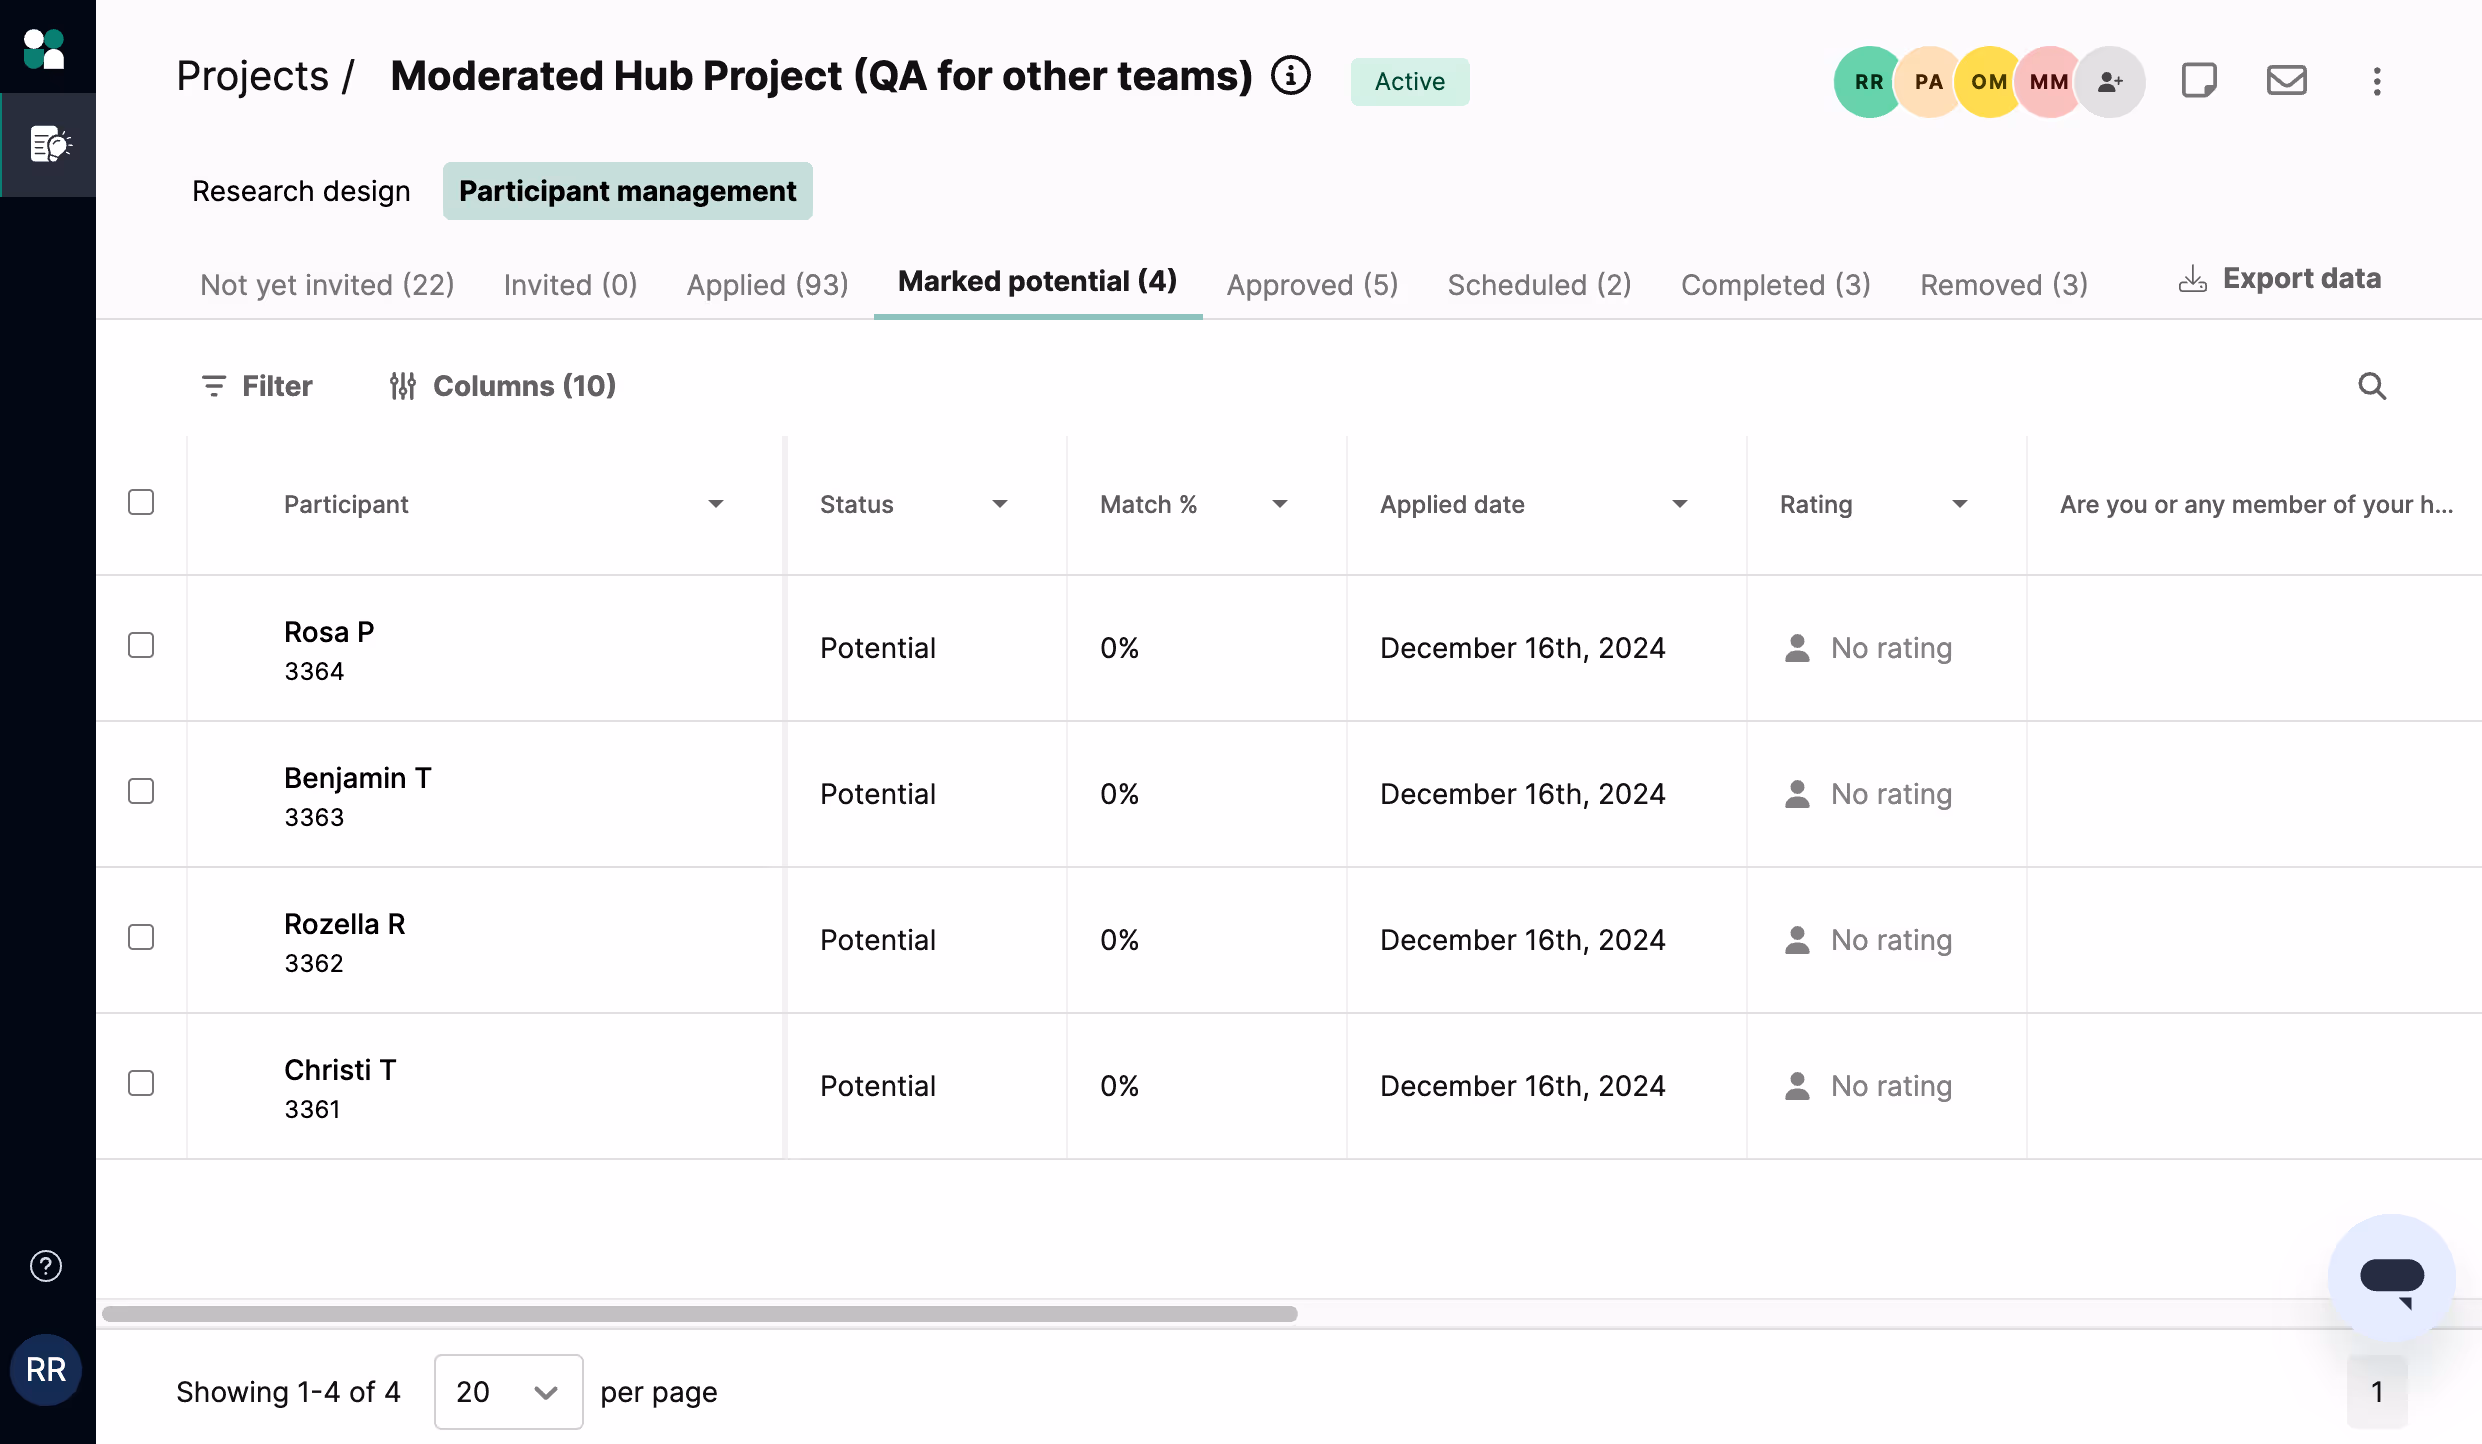
Marked potential
This tab shows participants who you’ve marked as a “Potential fit” for your study. These participants will have a “Potential” status—you can think of this as bookmarking applicants you’ll come back to for further consideration.
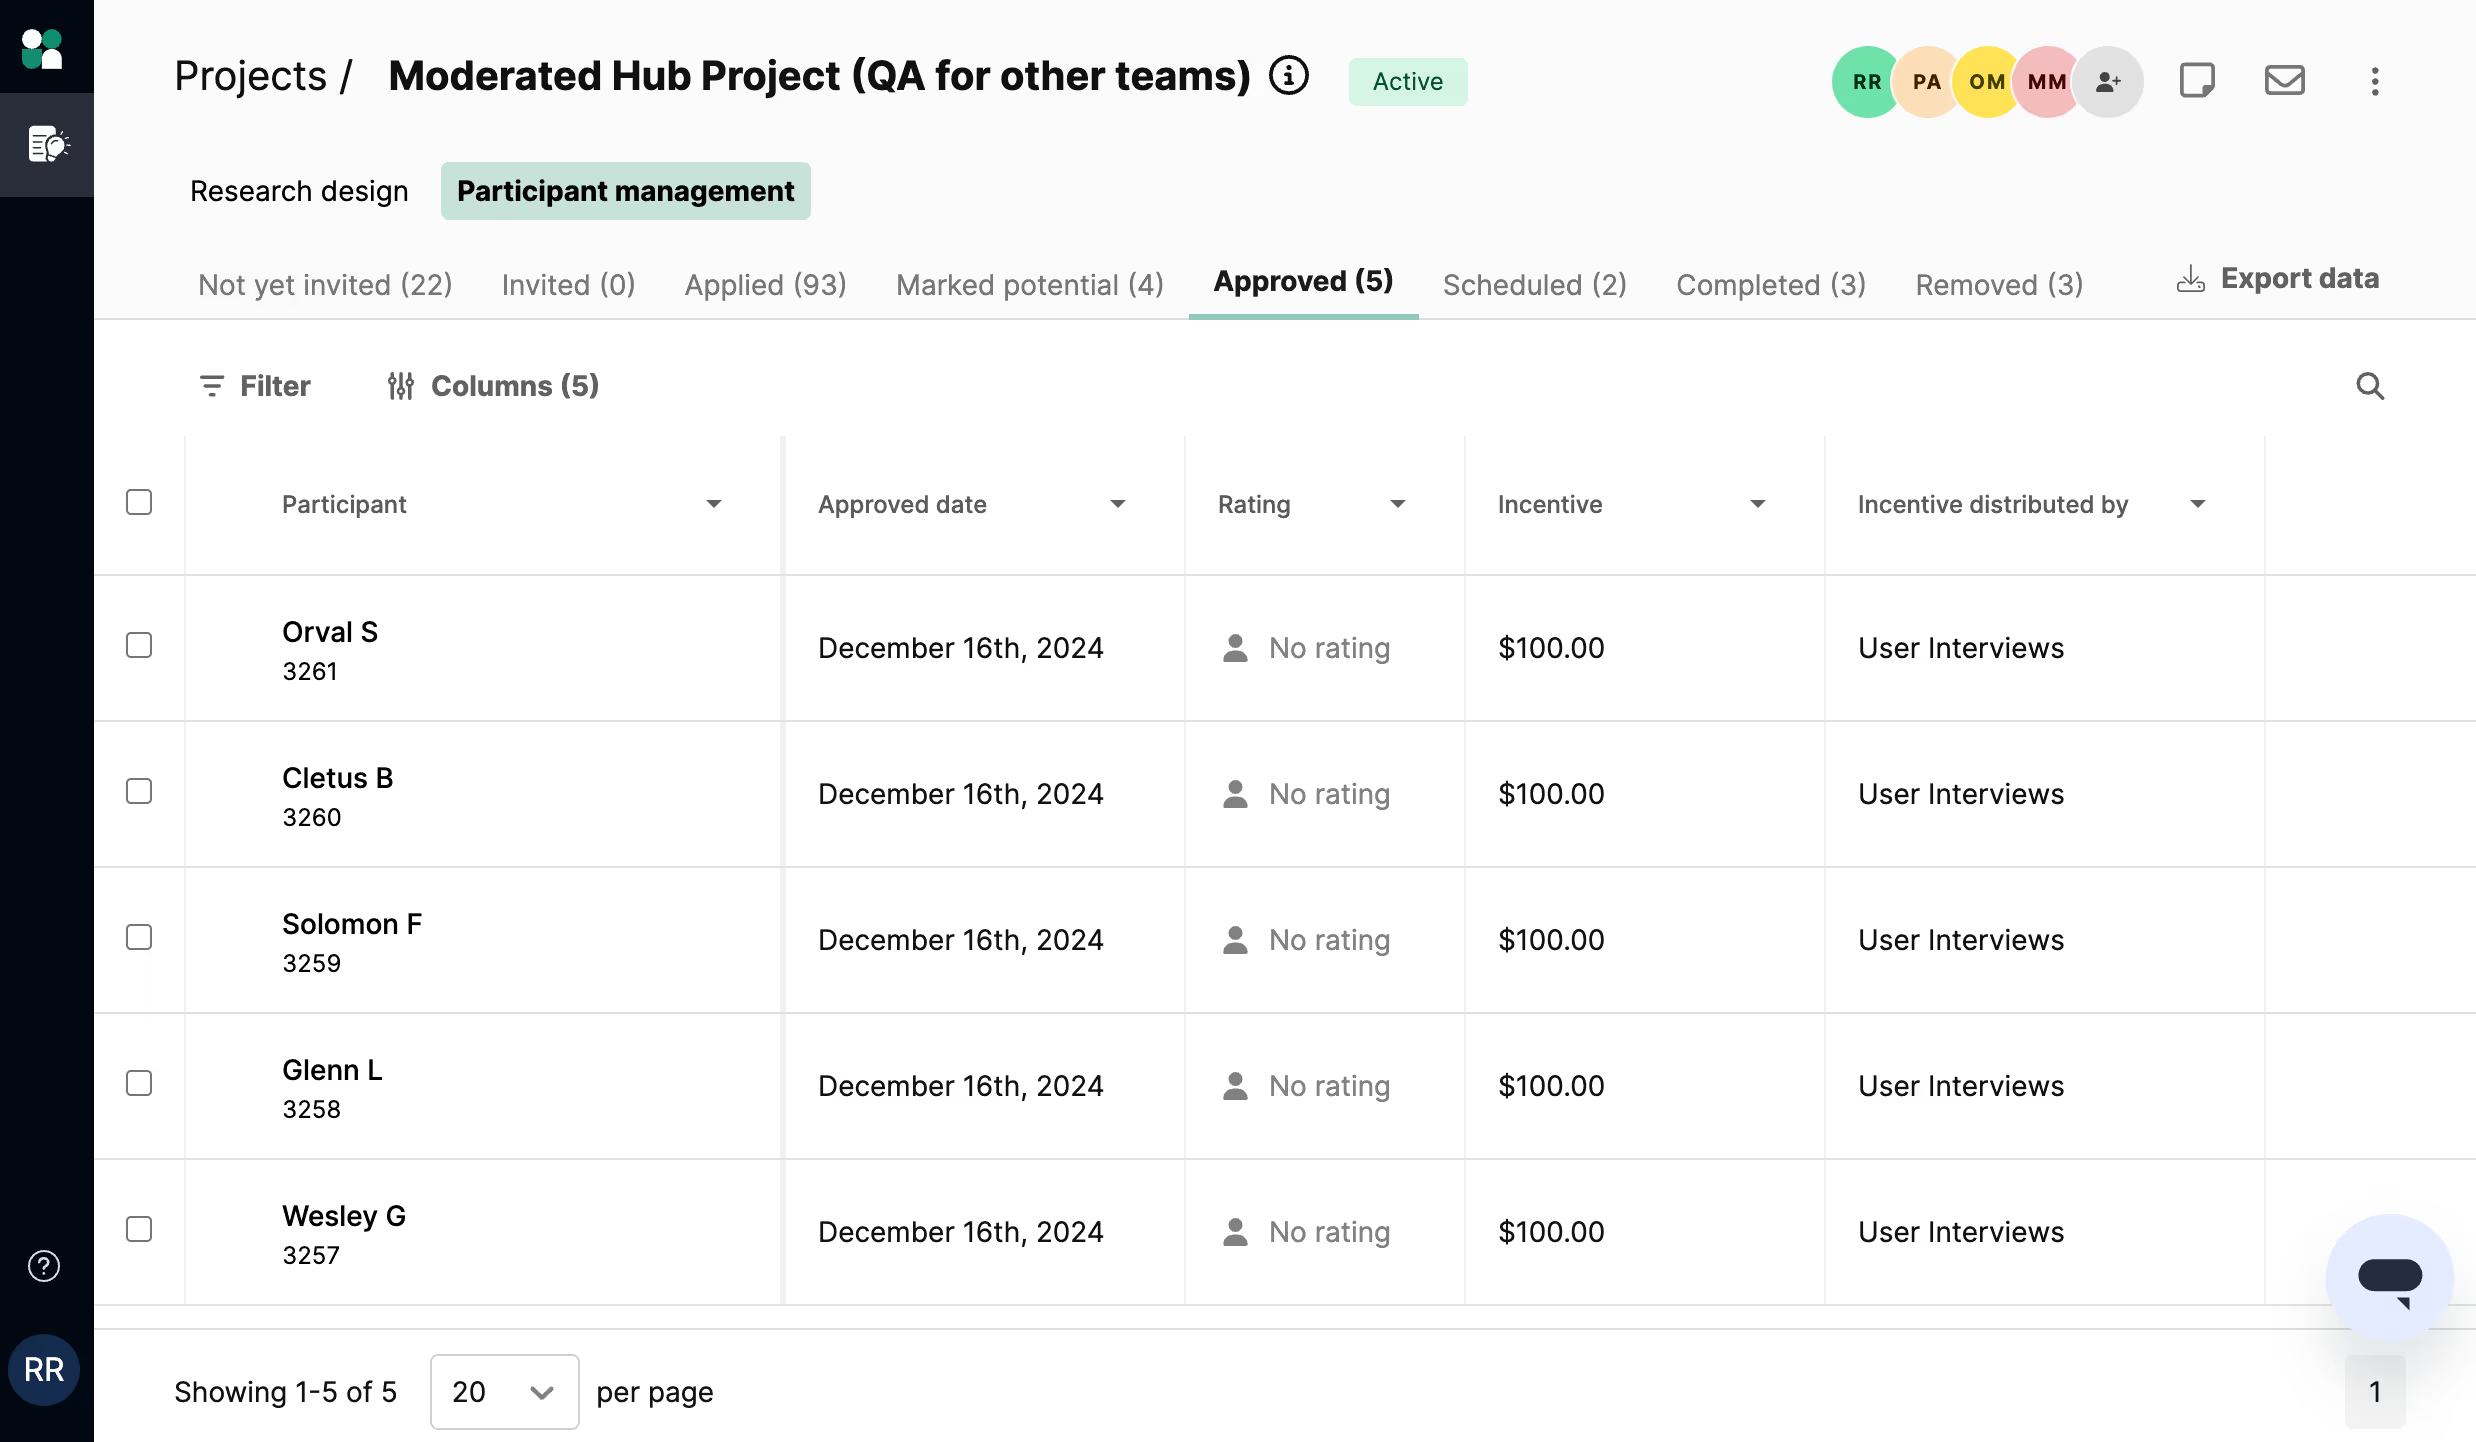
Approved
This tab shows participants you have approved for your study. Approving a participant will invite them to the study, where they can sign up for a session or start a task.
💡Tip: If you experience participants remaining in the “Approved” stage, you can try messaging them with our premium screening add-on to see if they are still interested. Otherwise, we generally recommend inviting additional participants if you don’t see any activity after 48 hours.
Scheduled
This tab shows participants who have signed up for a session and are now scheduled for your study. Note: For unmoderated studies, instead of the “Scheduled” stage, you’ll have additional “Started” and “Submitted” stages.
By default, a 24 hour reminder is sent to participants before their session time (moderated) or task deadline (unmoderated).

Completed
This tab shows participants who have completed your study.
💡Note: If User Interviews is distributing the incentives, we pay participants immediately after you mark the participant as completed. If you are distributing incentives, make sure to pay participants within 10 days of their session, per our panel guidelines.

Removed
This tab shows participants who you have marked as “Not a fit” for your study. If you change your mind, you can come back to these participants at any time for additional review.

Organize, categorize, and bookmark participants for review
Bulk actions
Approve (“Approve”), bookmark (“Potential fit”), and remove (“Not a fit”) participants from your project in bulk to streamline the review process. You can also message participants directly from their profile, either individually or as a bulk message.

Bookmark participants
You can mark participants with “Potential fit” status for those who may be good fits for your study, but need further consideration before approving.
Customize your table view
Highlight the information you care about to more easily compare and contrast potential participants. Each stage has its own set of default columns tailored to that stage, but you can edit them to customize your view.
Reorder, sort, freeze, and hide columns
Click on “Columns” to open the edit columns drawer. On the left side you can search for and select specific columns to display, such as screener questions, characteristics, and more. On the right side, you can check or uncheck the columns you’d like to show/hide, and click+drag to reorder. Click “Apply” to save your changes.

You can also make customizations on the participant table itself. Click the arrow on a column to hide, sort, or freeze the column. To reorder the columns on the table, simply click and drag to move columns to the desired location.

Apply filters
Click on “Filter” to open the filter modal, and apply filters to see only the participants who fit your criteria. Click on any participant to view their profile for more details.

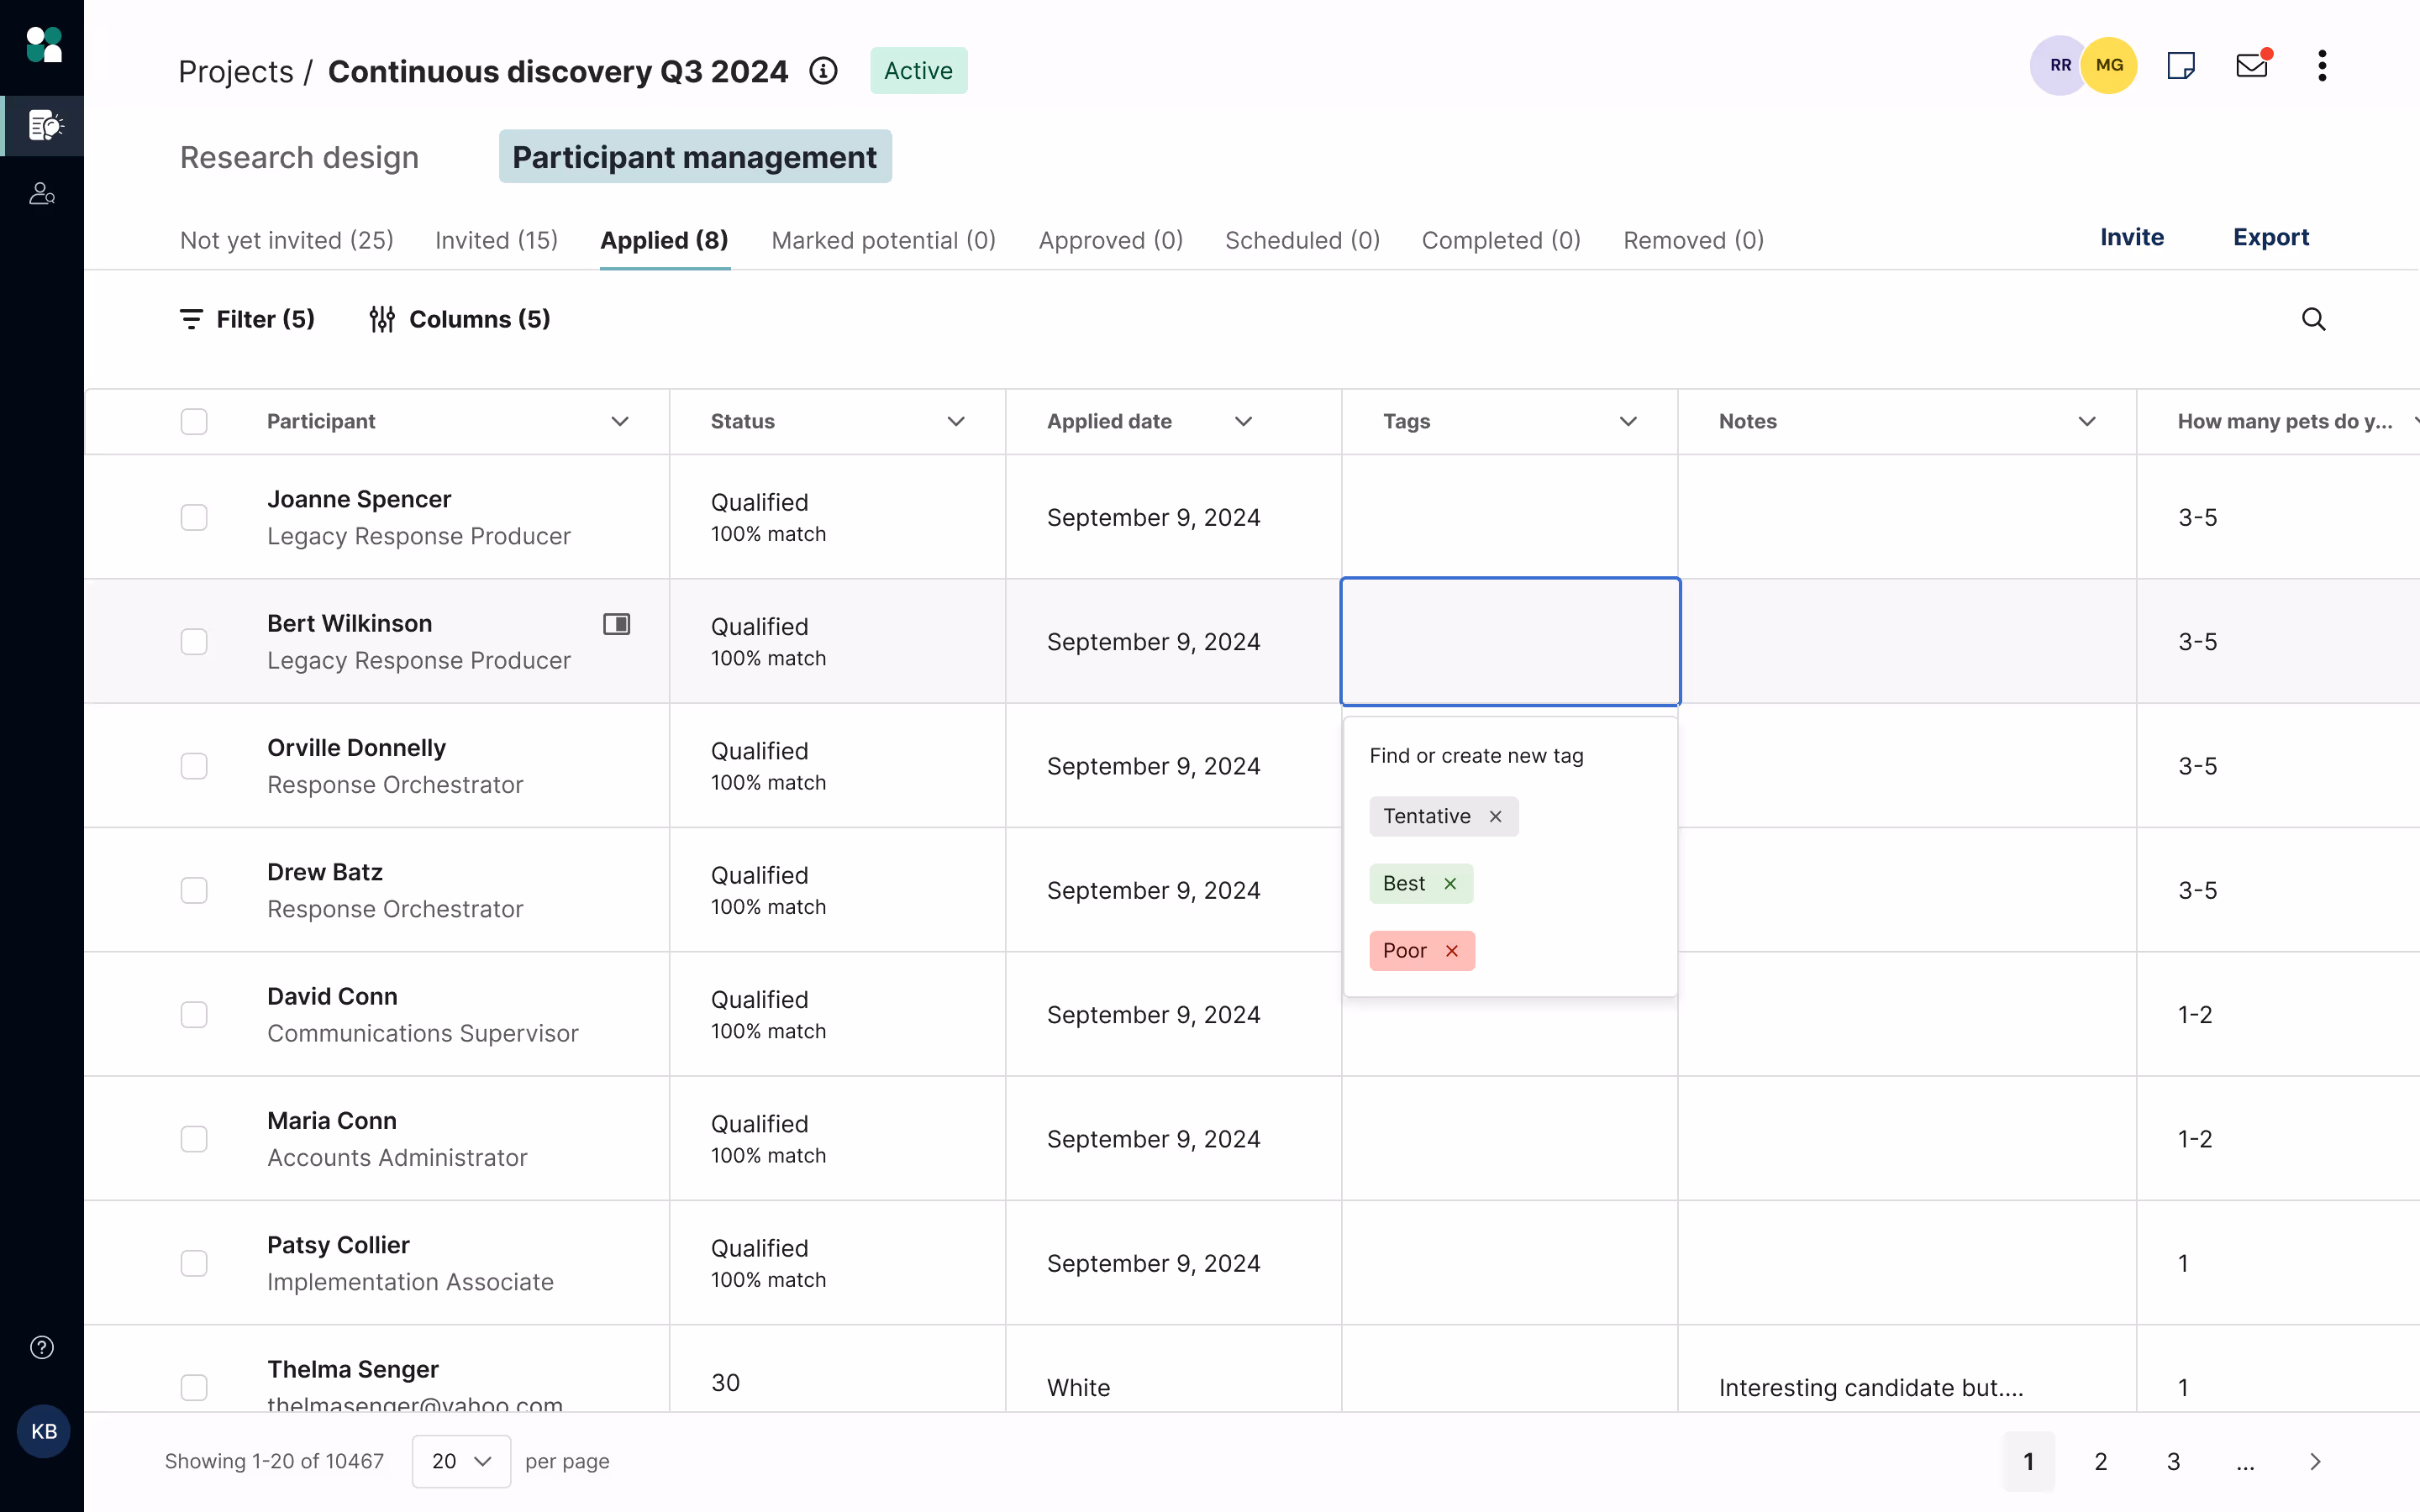
Create custom tags
Create custom tags about participants to help your review and approval process. For example, you might want to tag participants with a “Best”, “Tentative”, or “Poor” rating, or tag group identifiers such as “Alpha tester” or “Beta tester.”
Tags will appear under the “Tags” column for each participant, and can be added or removed as needed. You can also filter on one or more tags from the Filter modal.
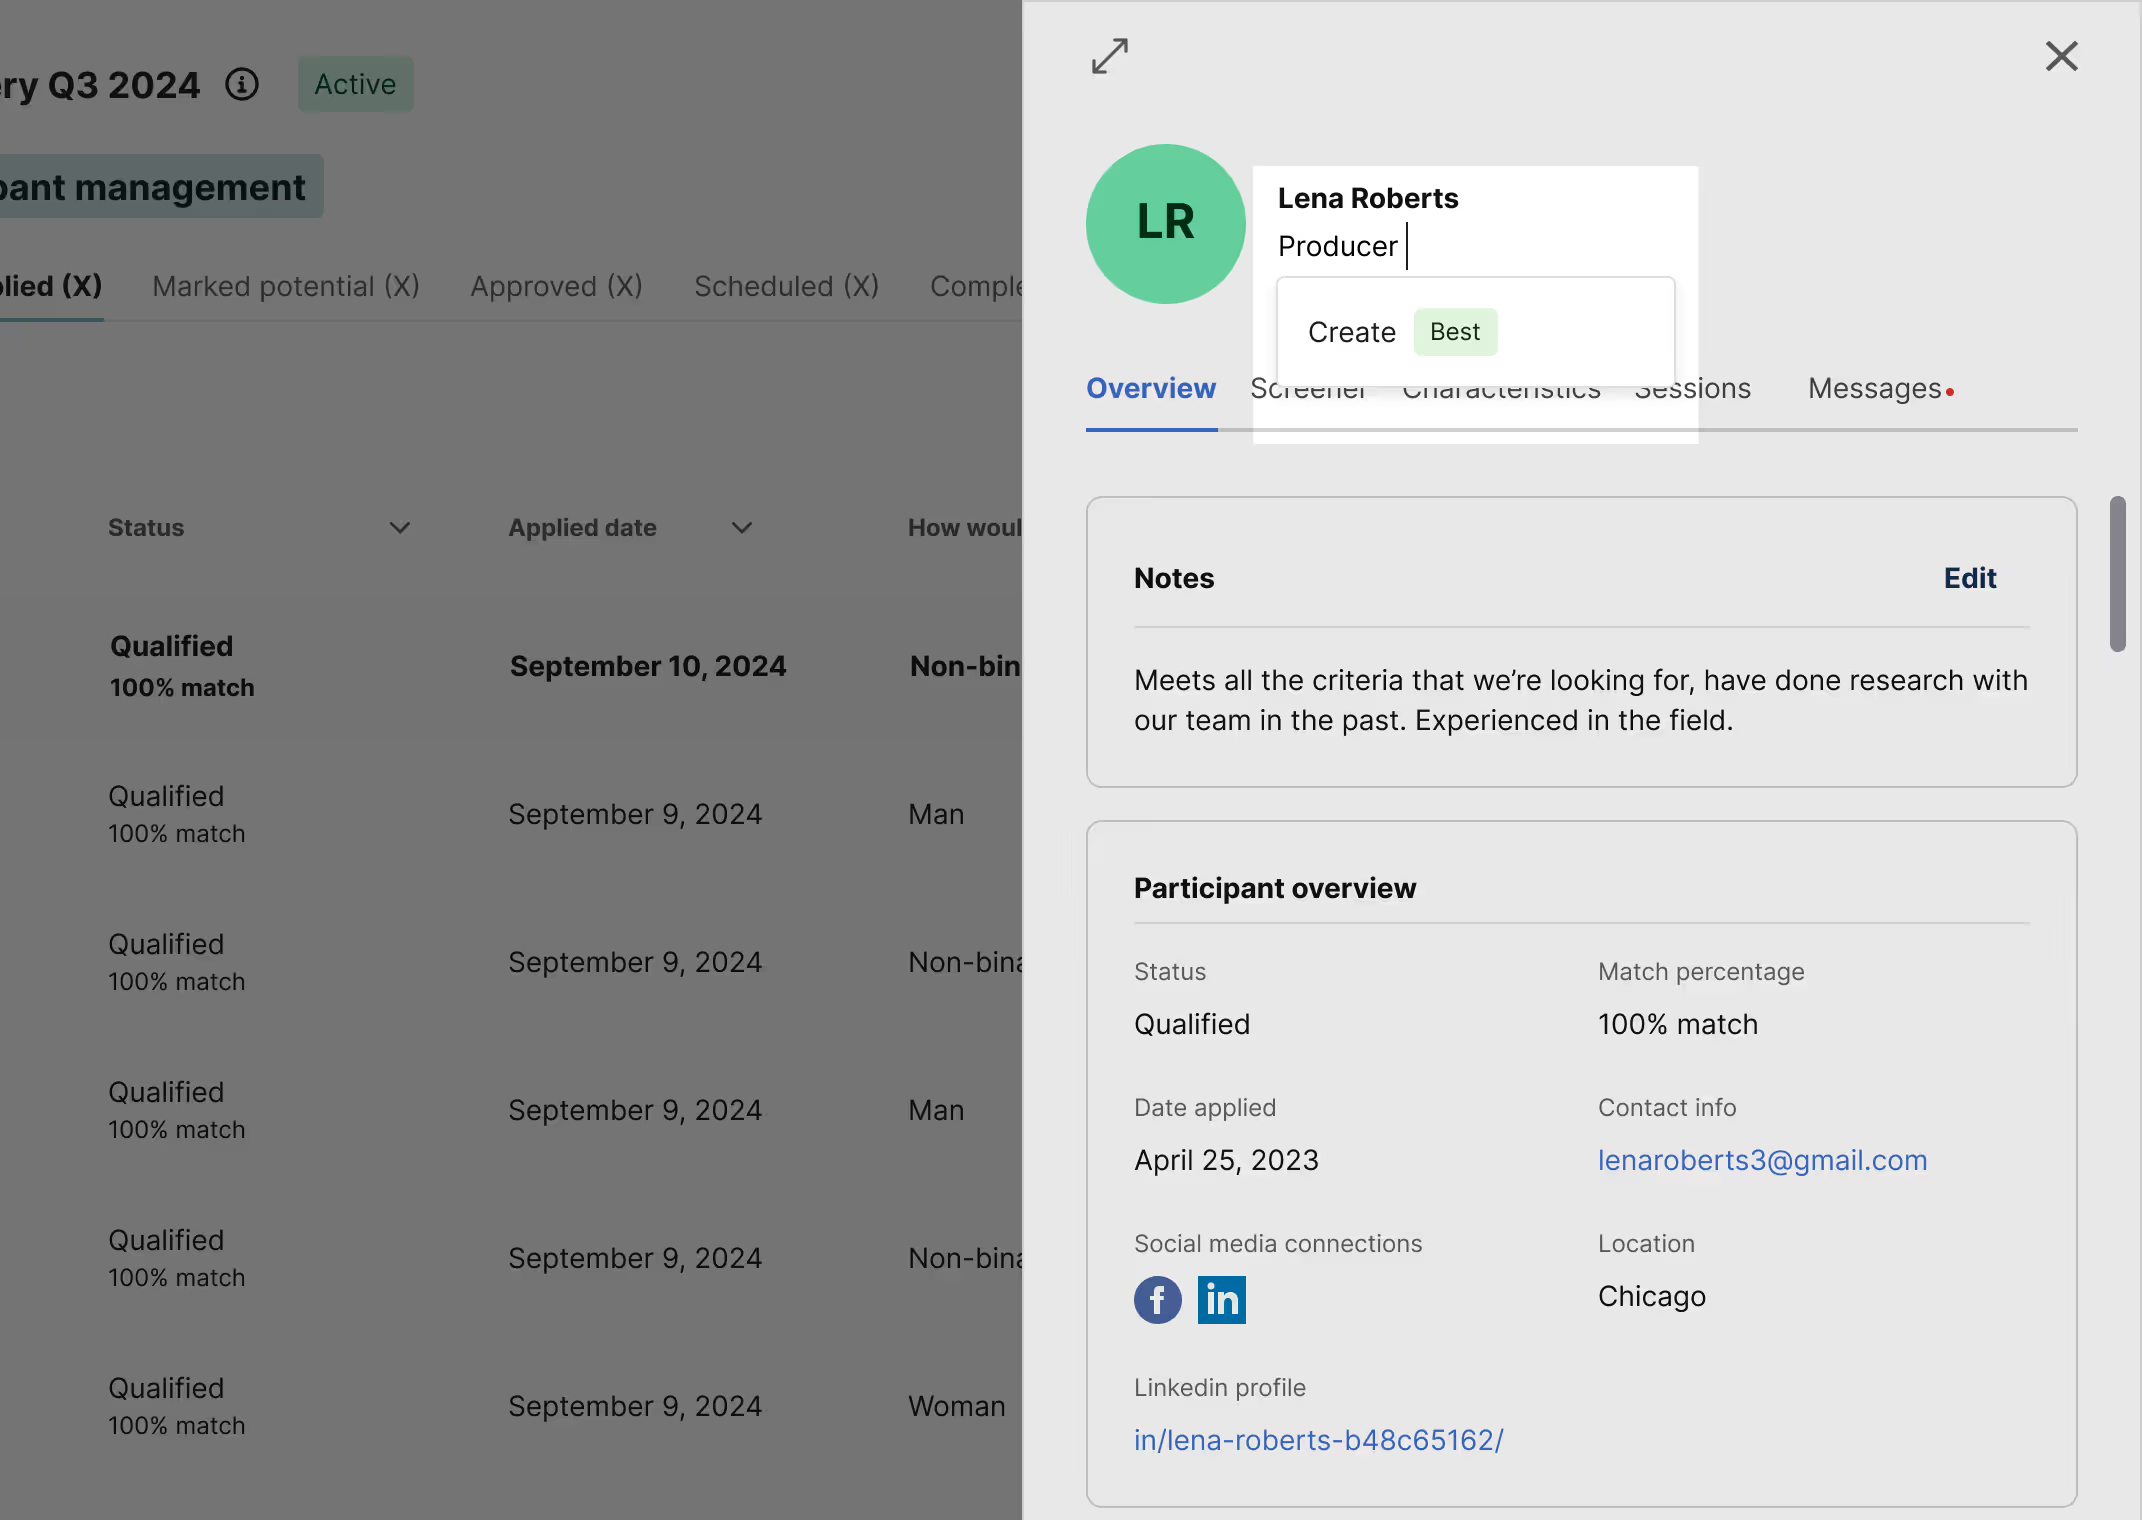
Tags are also viewable and editable in a participant’s profile, directly under the participant name.
💡Note: Tags only apply to individual projects. They do not apply across projects, so any changes you make will only affect the project you’re working in.
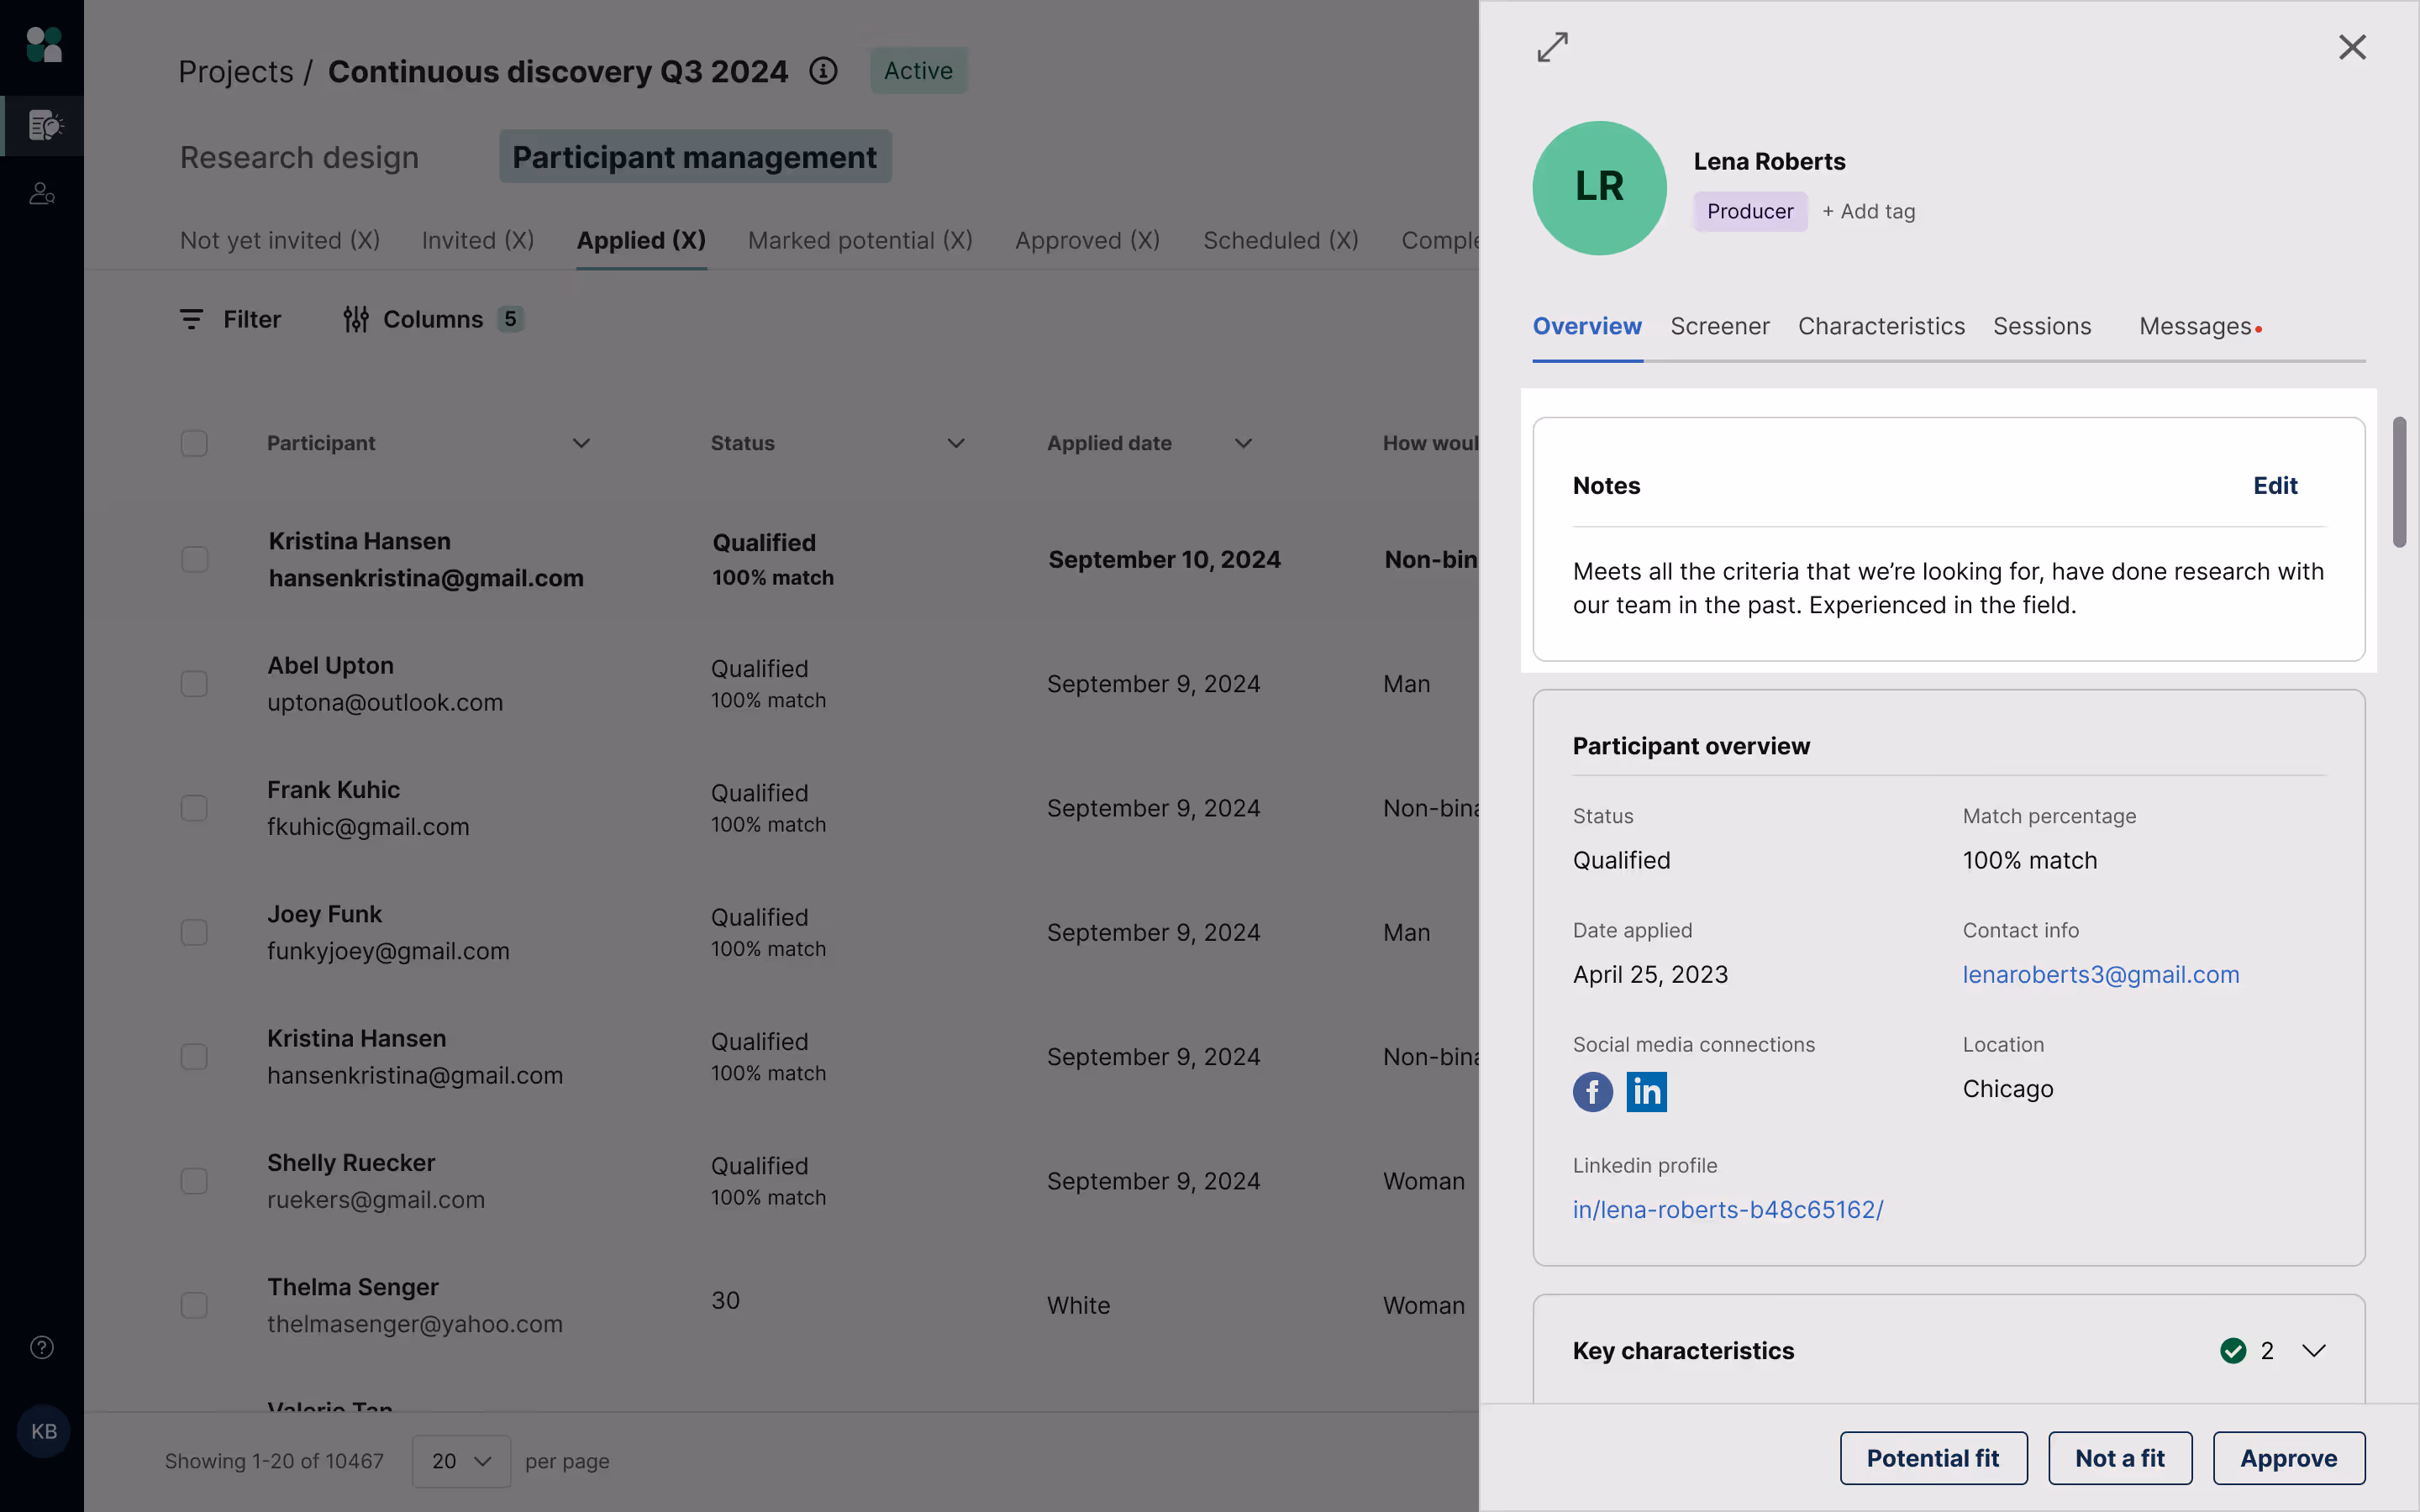
Notes
Create notes about participants to help your review and approval process. You can add notes directly from the participant table, under the “Notes” column.
Notes are also viewable and editable in the “Overview” section of a participant’s profile.
💡Note: Notes (like tags) only apply to individual projects. They do not apply across projects, so any changes you make will affect the project you’re working in. Currently, you cannot filter by or export custom notes.
FAQ
If I mark a participant as “Potential fit,” is their status still qualified?
“Potential” is its own status. Once someone has been marked potential, their status will show as “Potential.” They will no longer have a status of qualified or unqualified.
Can I move a participant from the “Potential fit” stage back to the “Applied” stage?
No, once a participant is marked “Potential” they can’t be moved back to “Applied”. Instead, you can choose to “Approve and invite” the participant to move them to “Approved” status, or if they’re not a good fit you can mark them as “Not a fit.” This will remove them from the “Marked potential” stage.
I approved a participant, but I’m not seeing them in my scheduled sessions. Why?
Approving a participant does not confirm their spot. Once approved, participants need to take the final step to confirm their spot via our booking link. Once confirmed, the schedule will be updated and you'll receive a notification email.
How many participants should I approve?
Please approve 2x as many participants as you'd like booked. This allows us to account for drop-outs, participant availability, or other scheduling issues that may come up. Learn more about managing quotas in this article.
Will every researcher have their own individual view of the participant table, or will we share the same view?
All collaborators on a project will share the same customized participant table view, so your team has a single source of truth to work from.
Will the .csv export reflect my customized table view?
Currently no, the .csv export will not reflect the customized table view—it will include all participant data in the table.


