
What are panels in Hub, and why use them?
Admins can use panels to organize and manage access to participants in Hub. They help protect participant data and streamline recruitment by ensuring that researchers have access to only the participants they need for their work.
Panels can be created based on any criteria. For example, you can organize participants by product or persona, create an opt-in only panel, or use panels to safeguard your high-value participants.
Owners (formerly Org Admins) and Administrators (formerly Team Admins) can create panels and manage permissions. Panel permissions can be set at the team or researcher level.
How to create panels in Hub
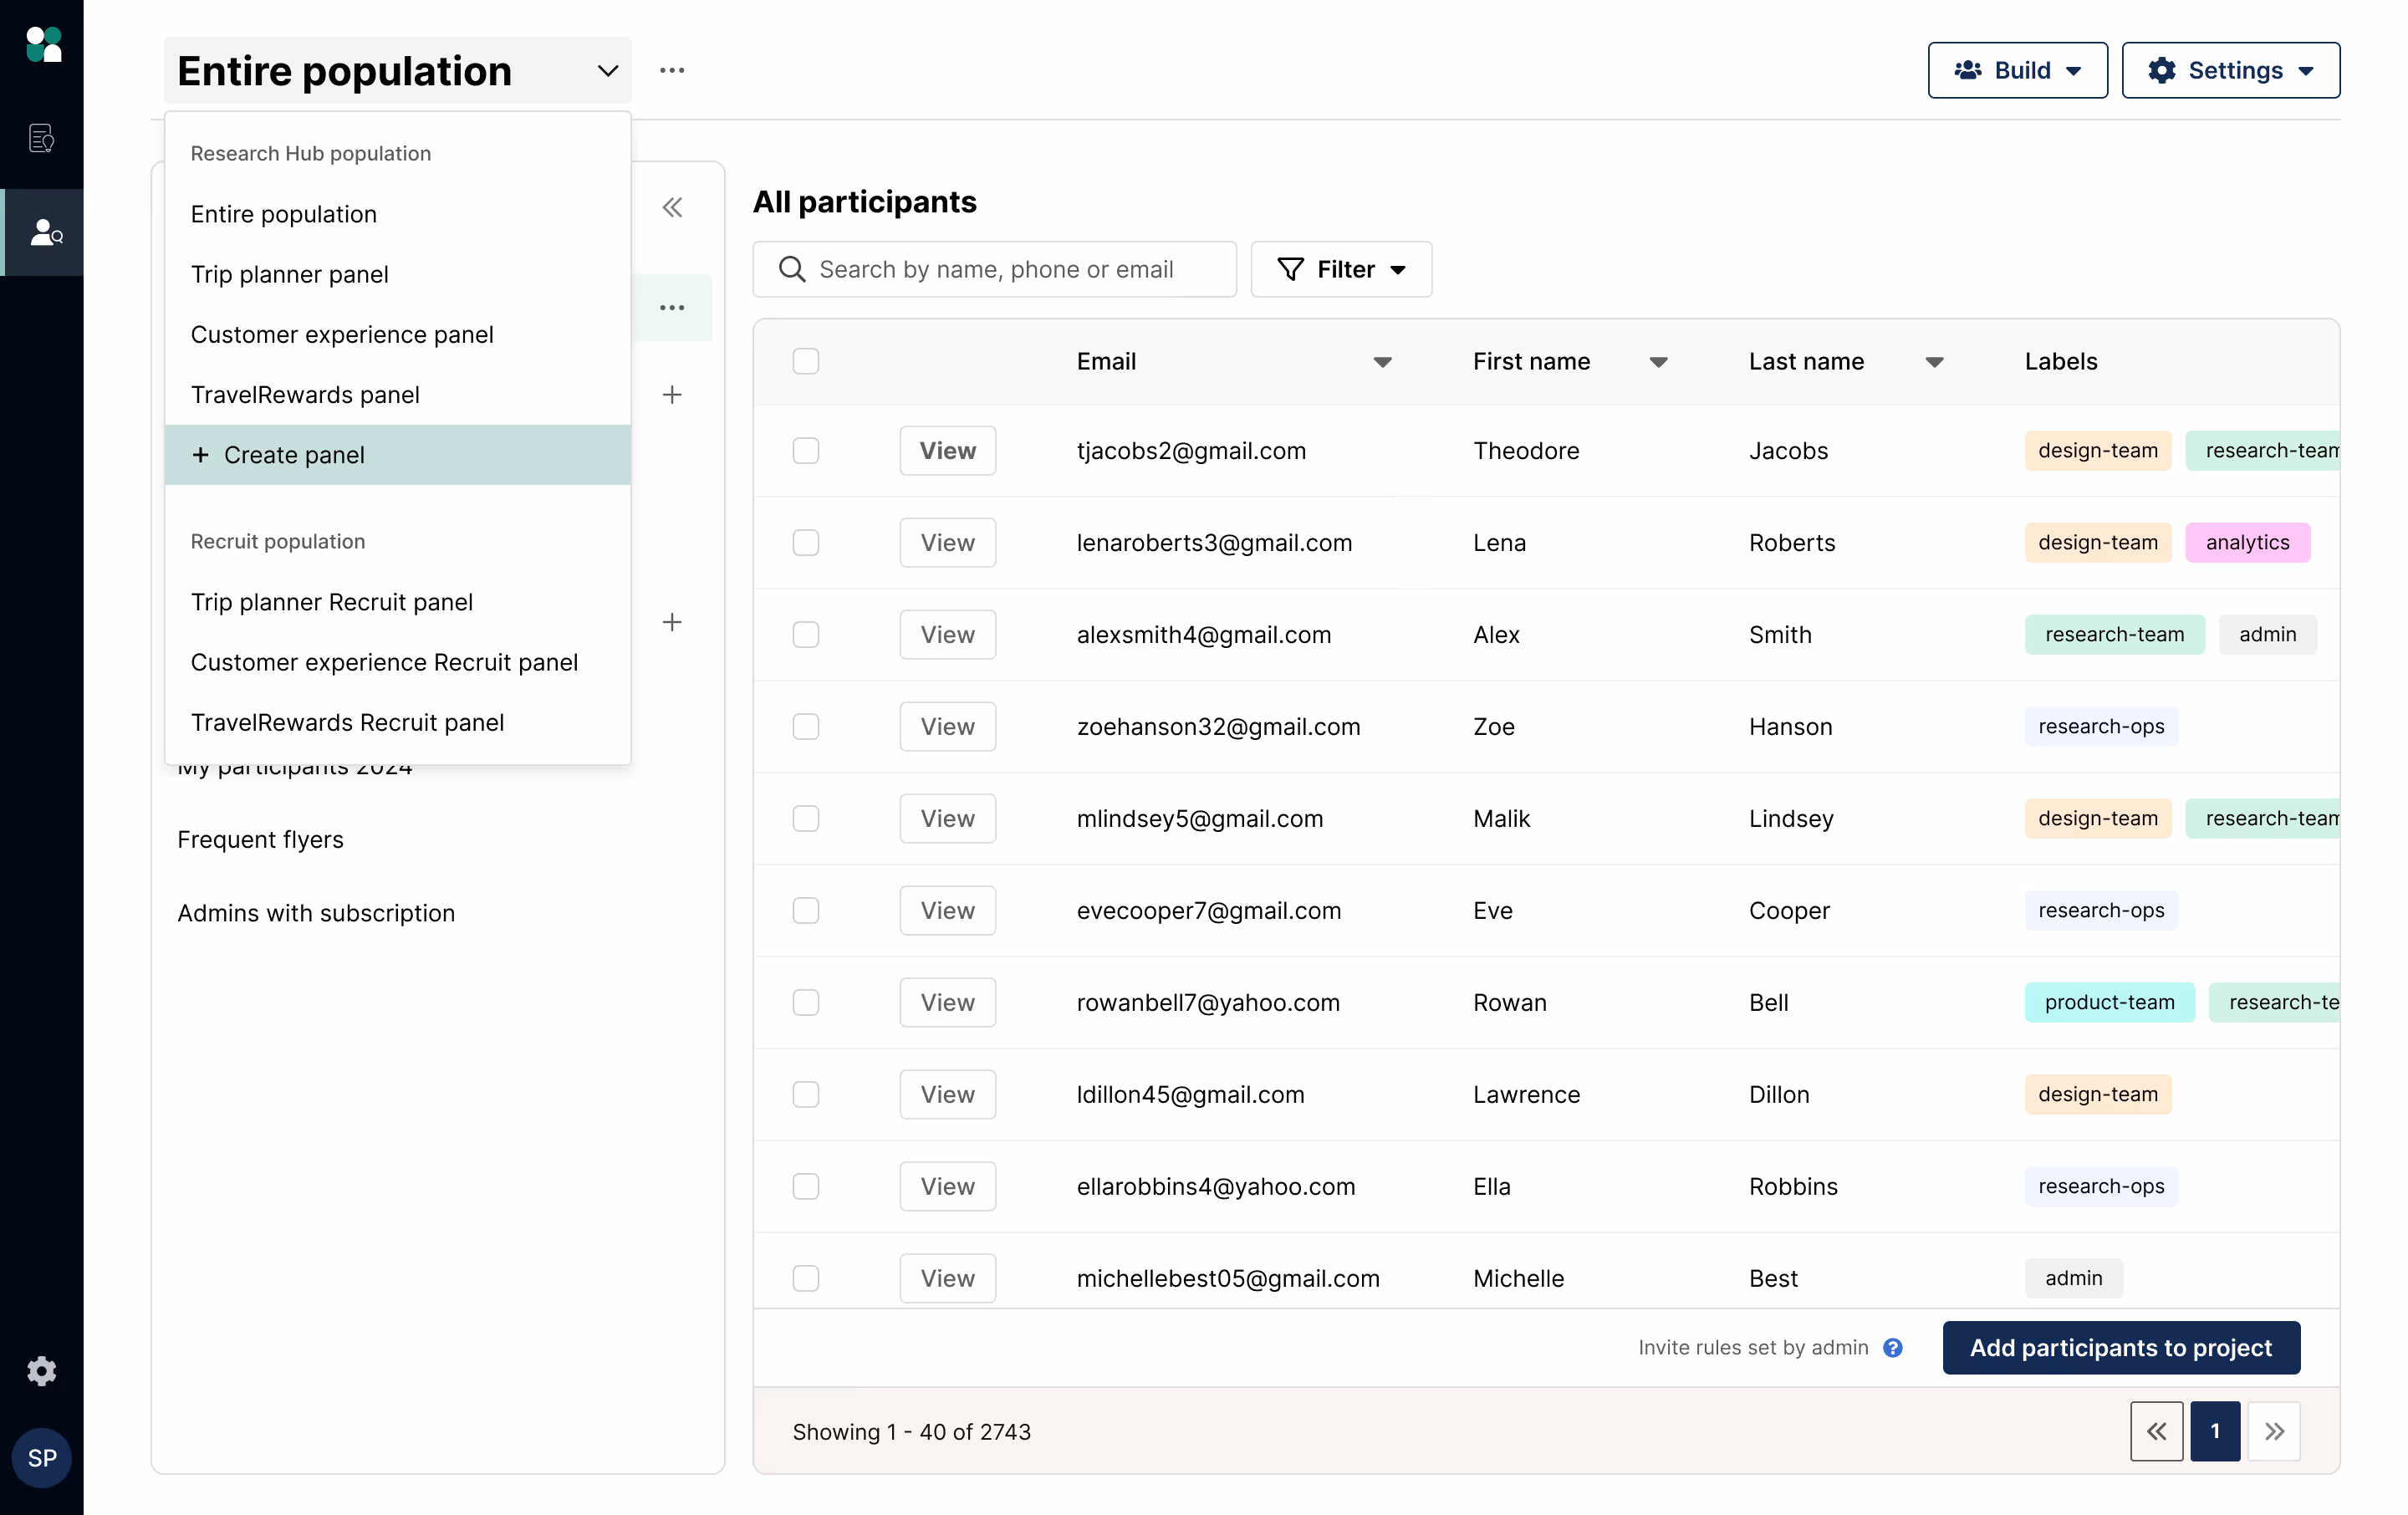
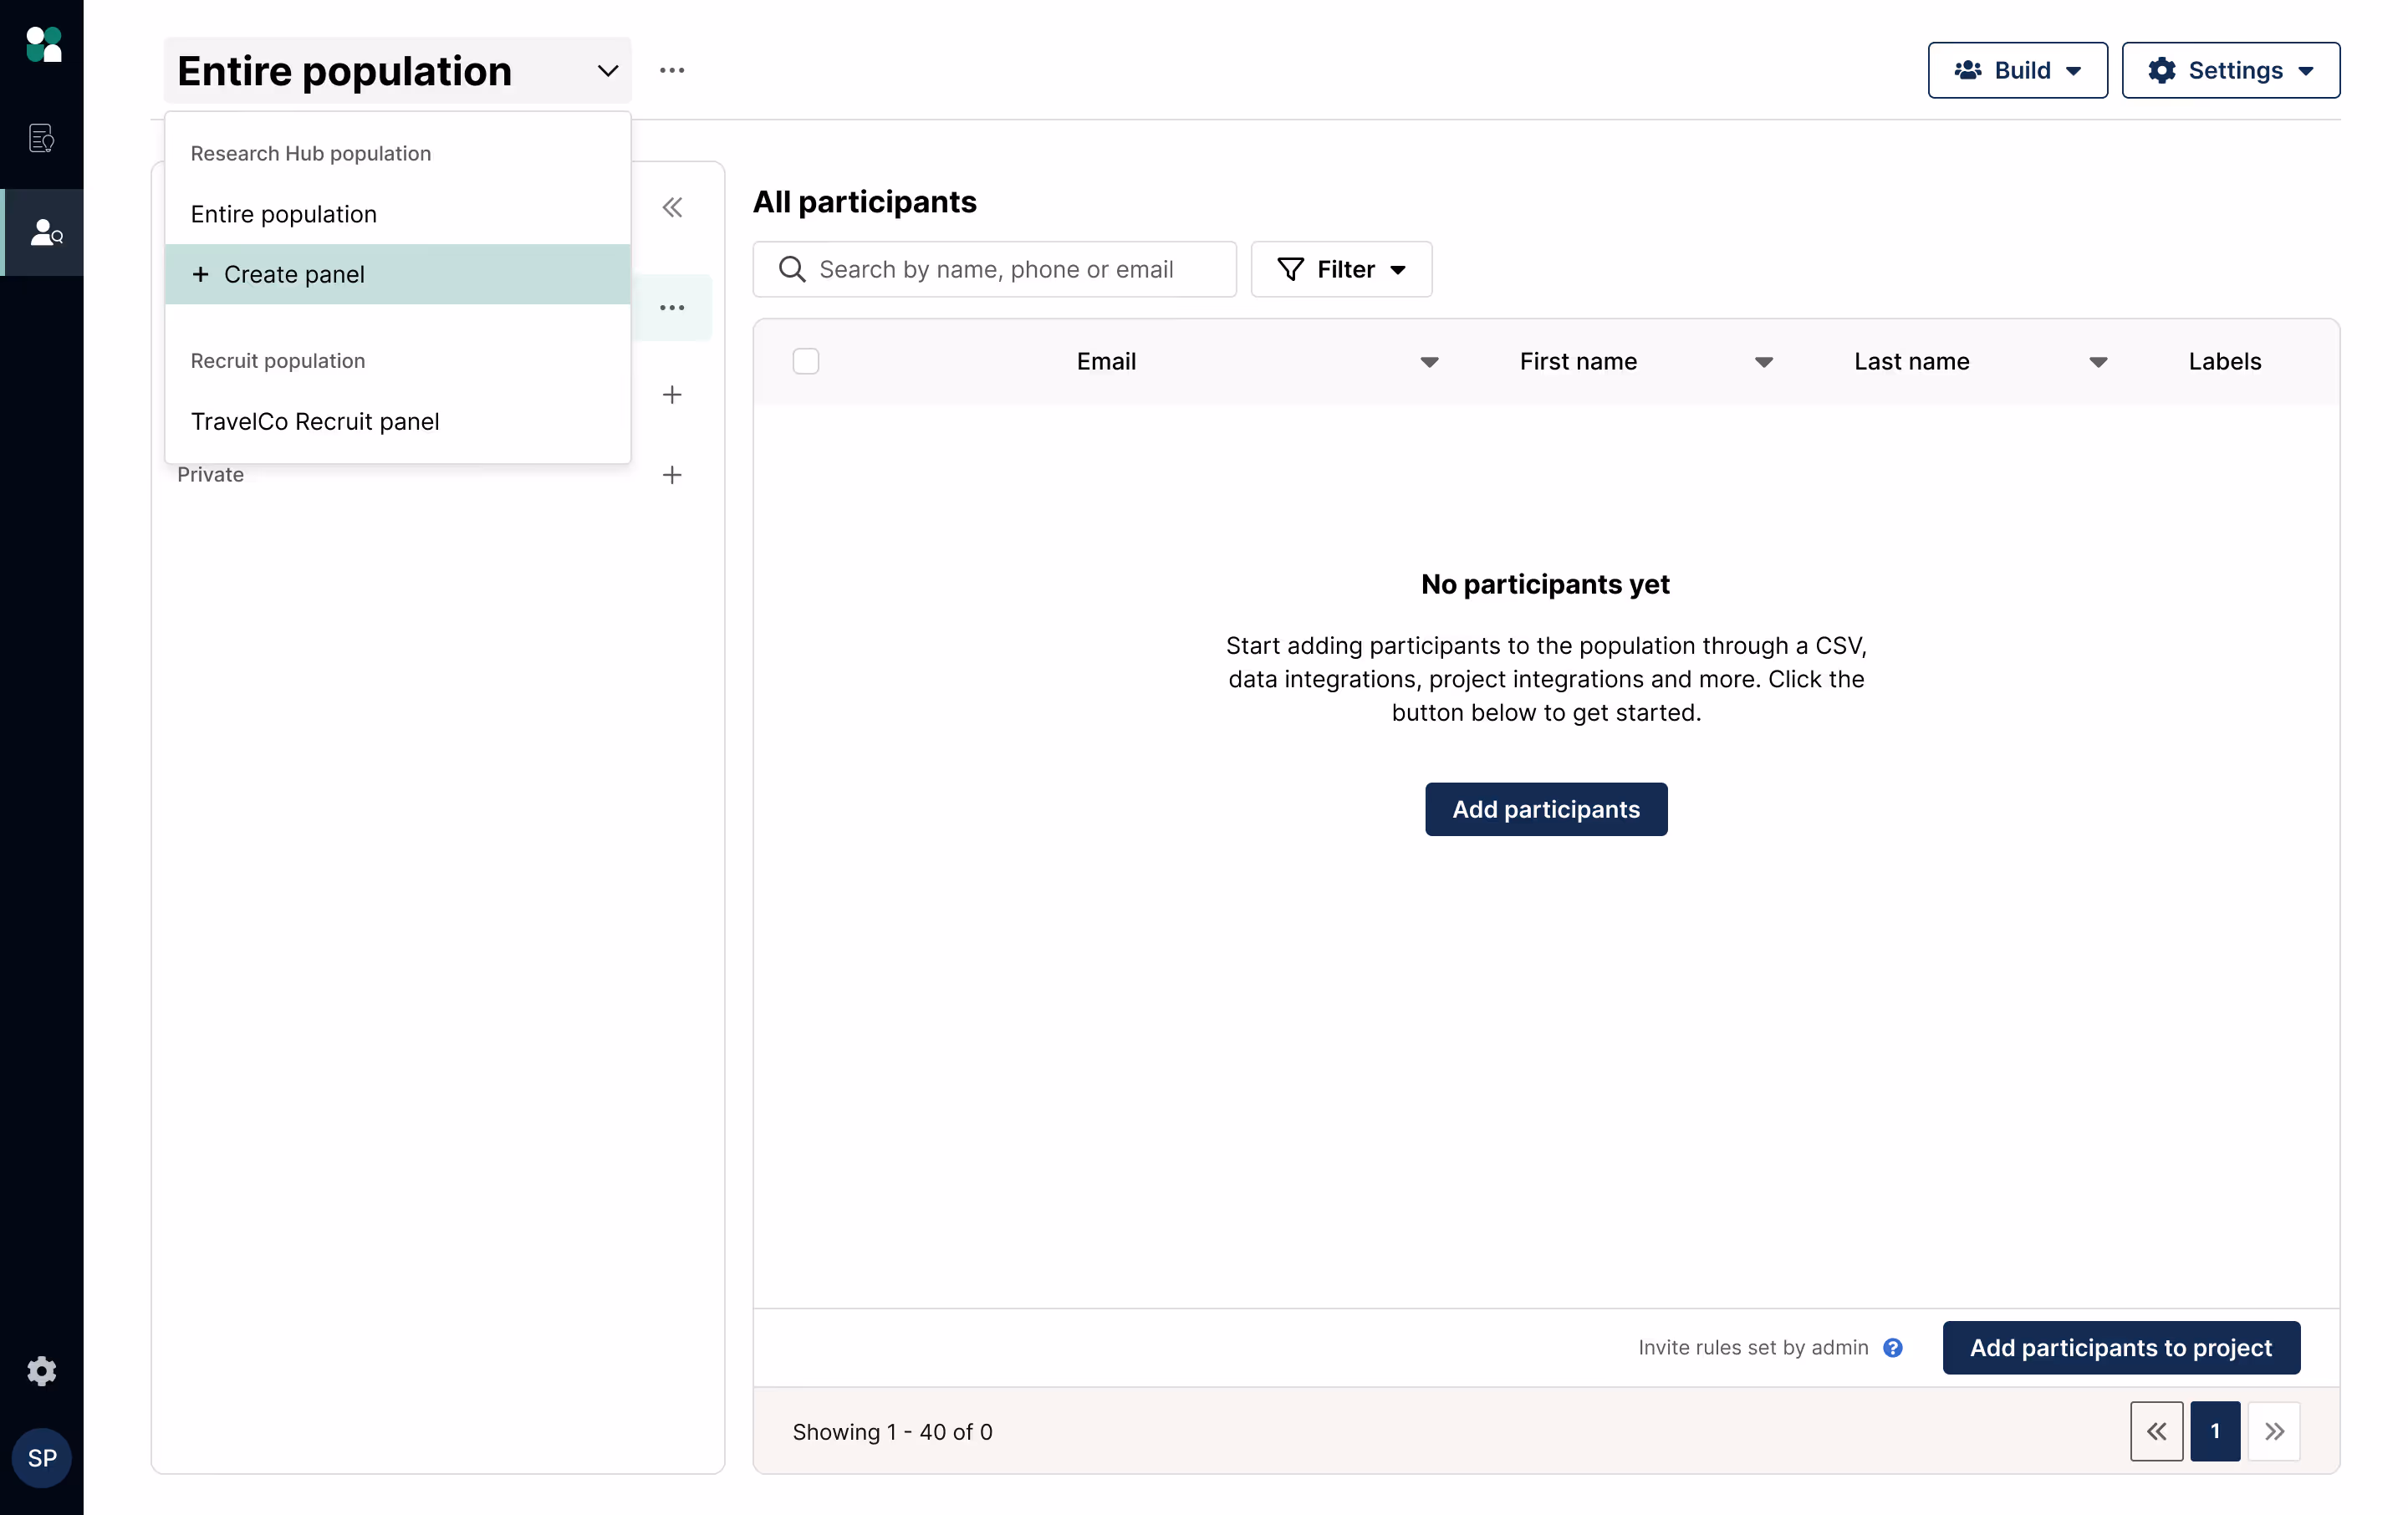
1. In Research Hub, click the “Entire population” dropdown on the top left and select “+Create panel”.
The “Entire population” view contains all Hub participants across all panels, while panels are custom subsets of the population.
🔐 Note: For most customers, access to the entire population is shared with all admins and researchers by default—you can update permissions to limit access as needed.
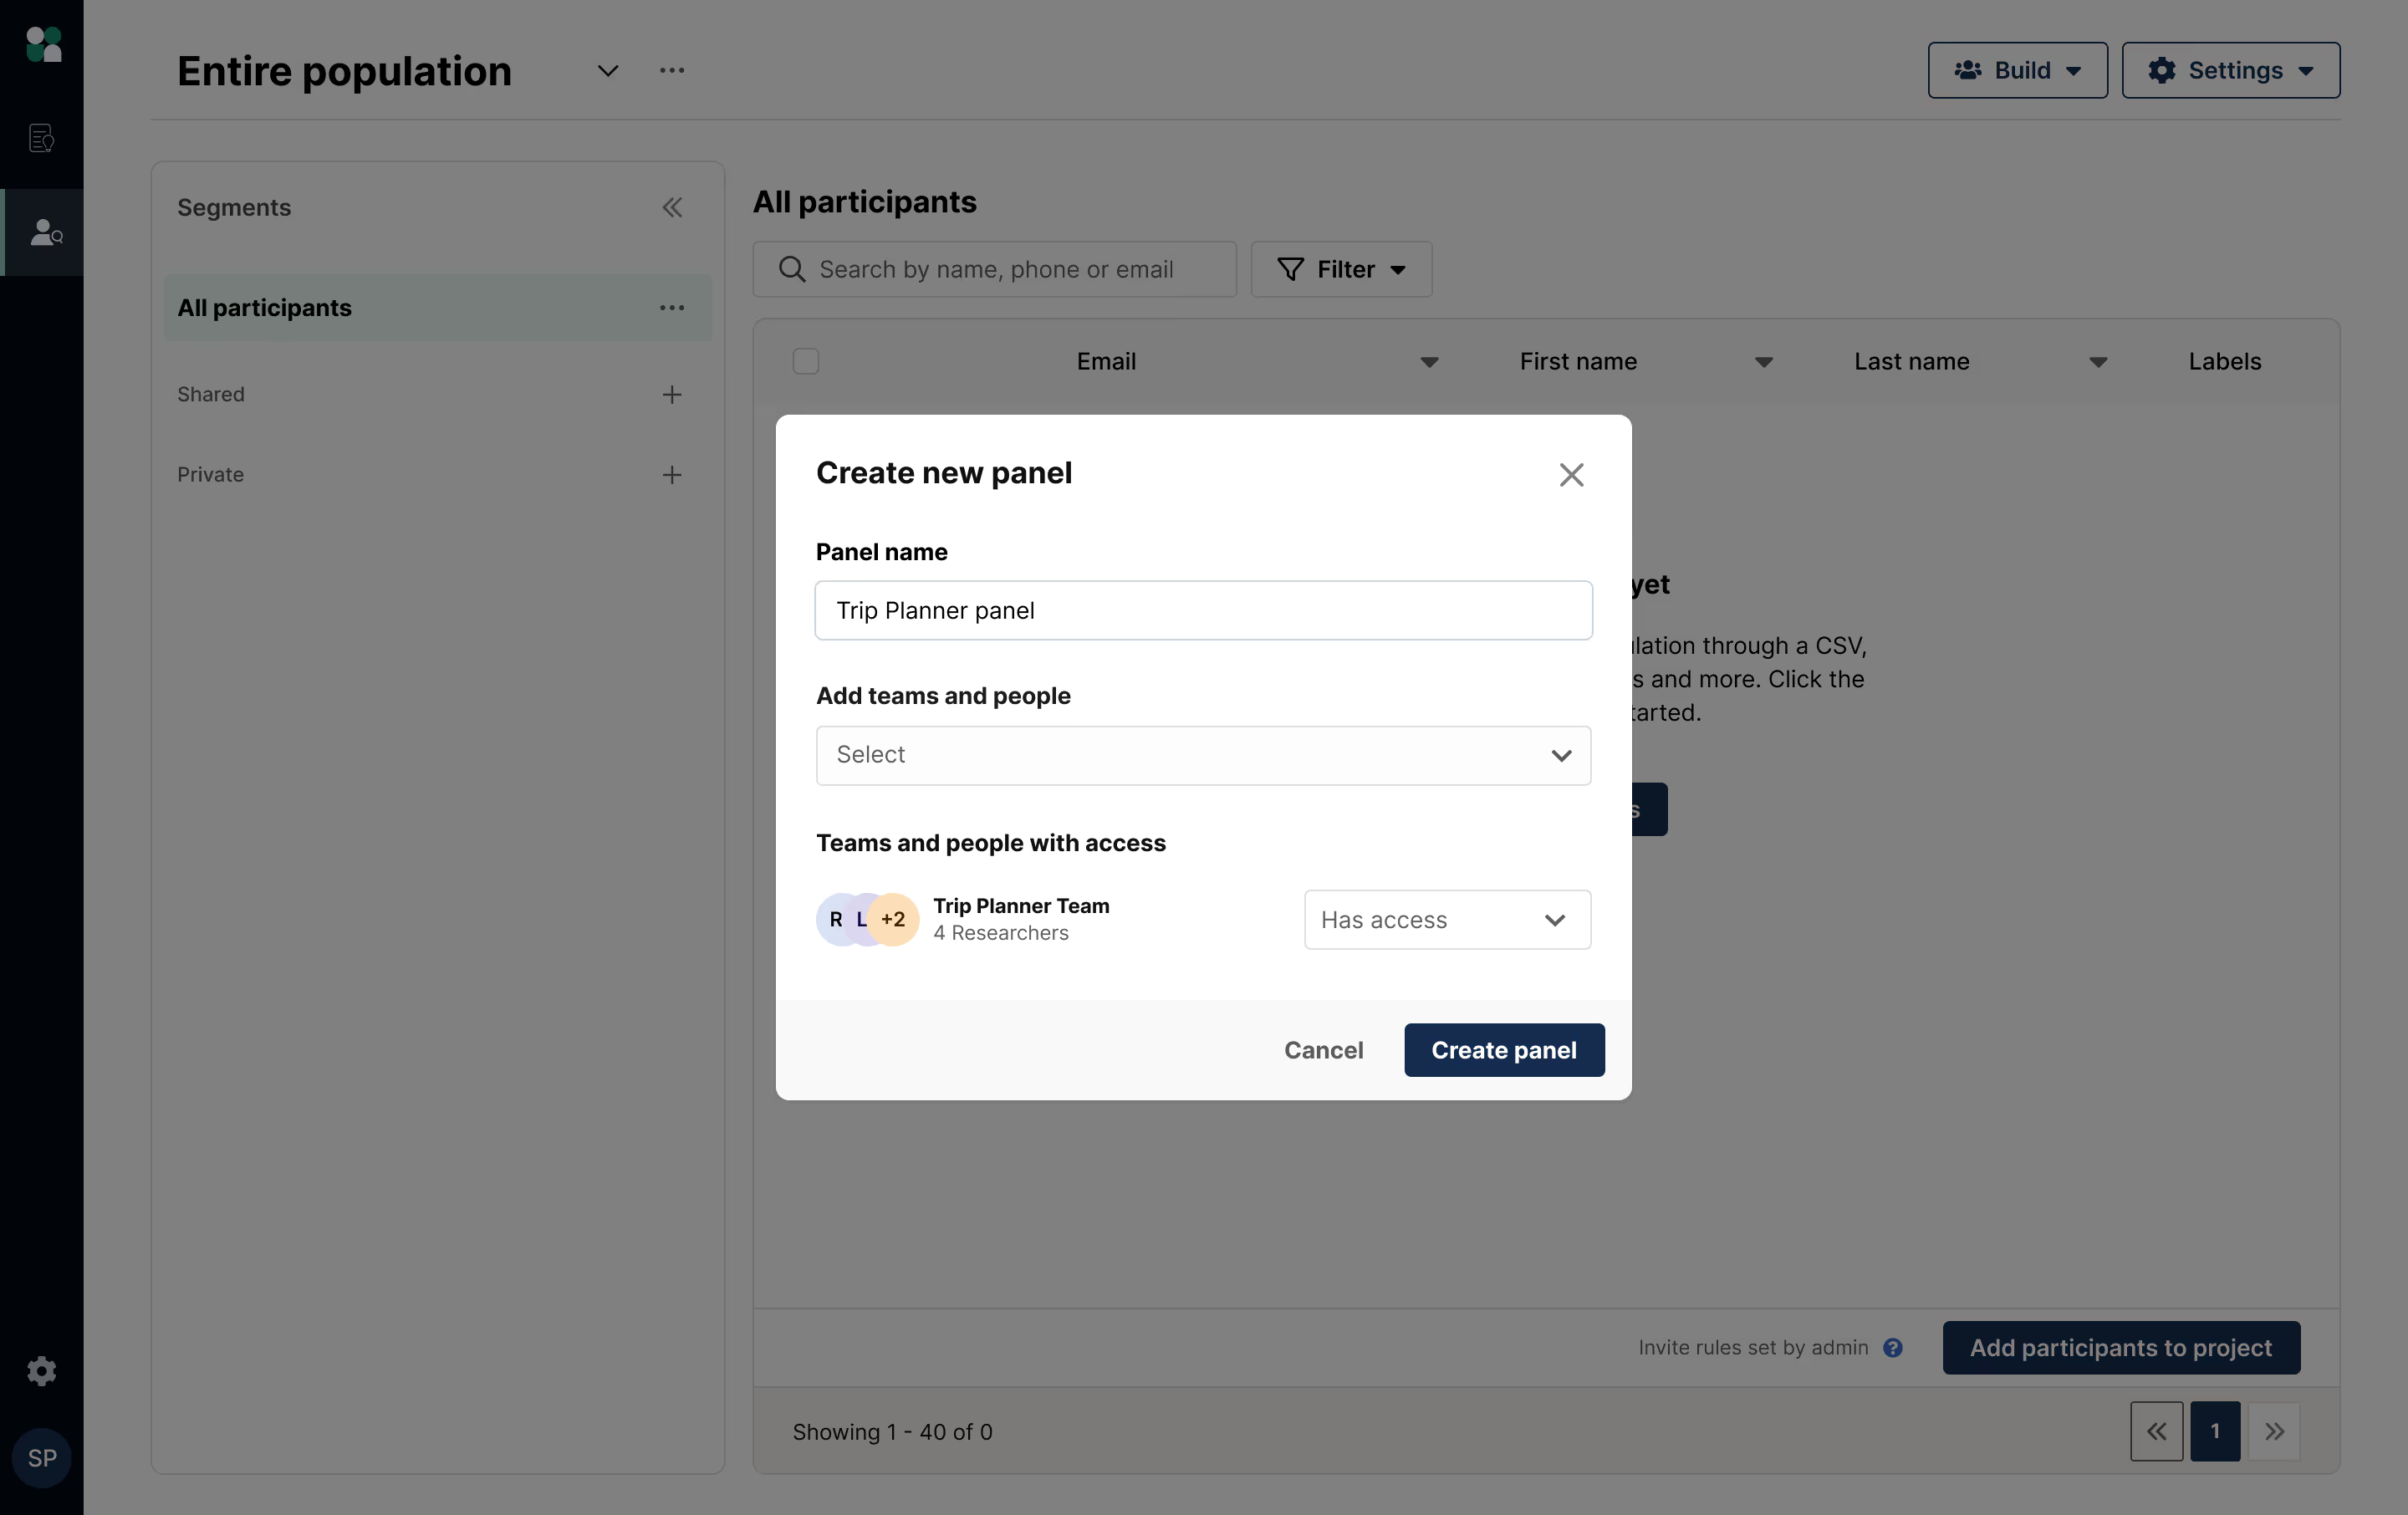
2. Name your panel and set permissions for access.
You can share access with specific teams and/or researchers, and customize permissions for individual researchers if necessary.
3. Add participants to your panel.
There are a few ways to add participants to your panel: CSV upload, via opt-in form, adding individual participants manually, adding participants from a project, or adding participants from the entire population.
Upload from CSV or manual add: In the panel view, click the “Build” dropdown to import from a CSV file, or manually add a single participant.
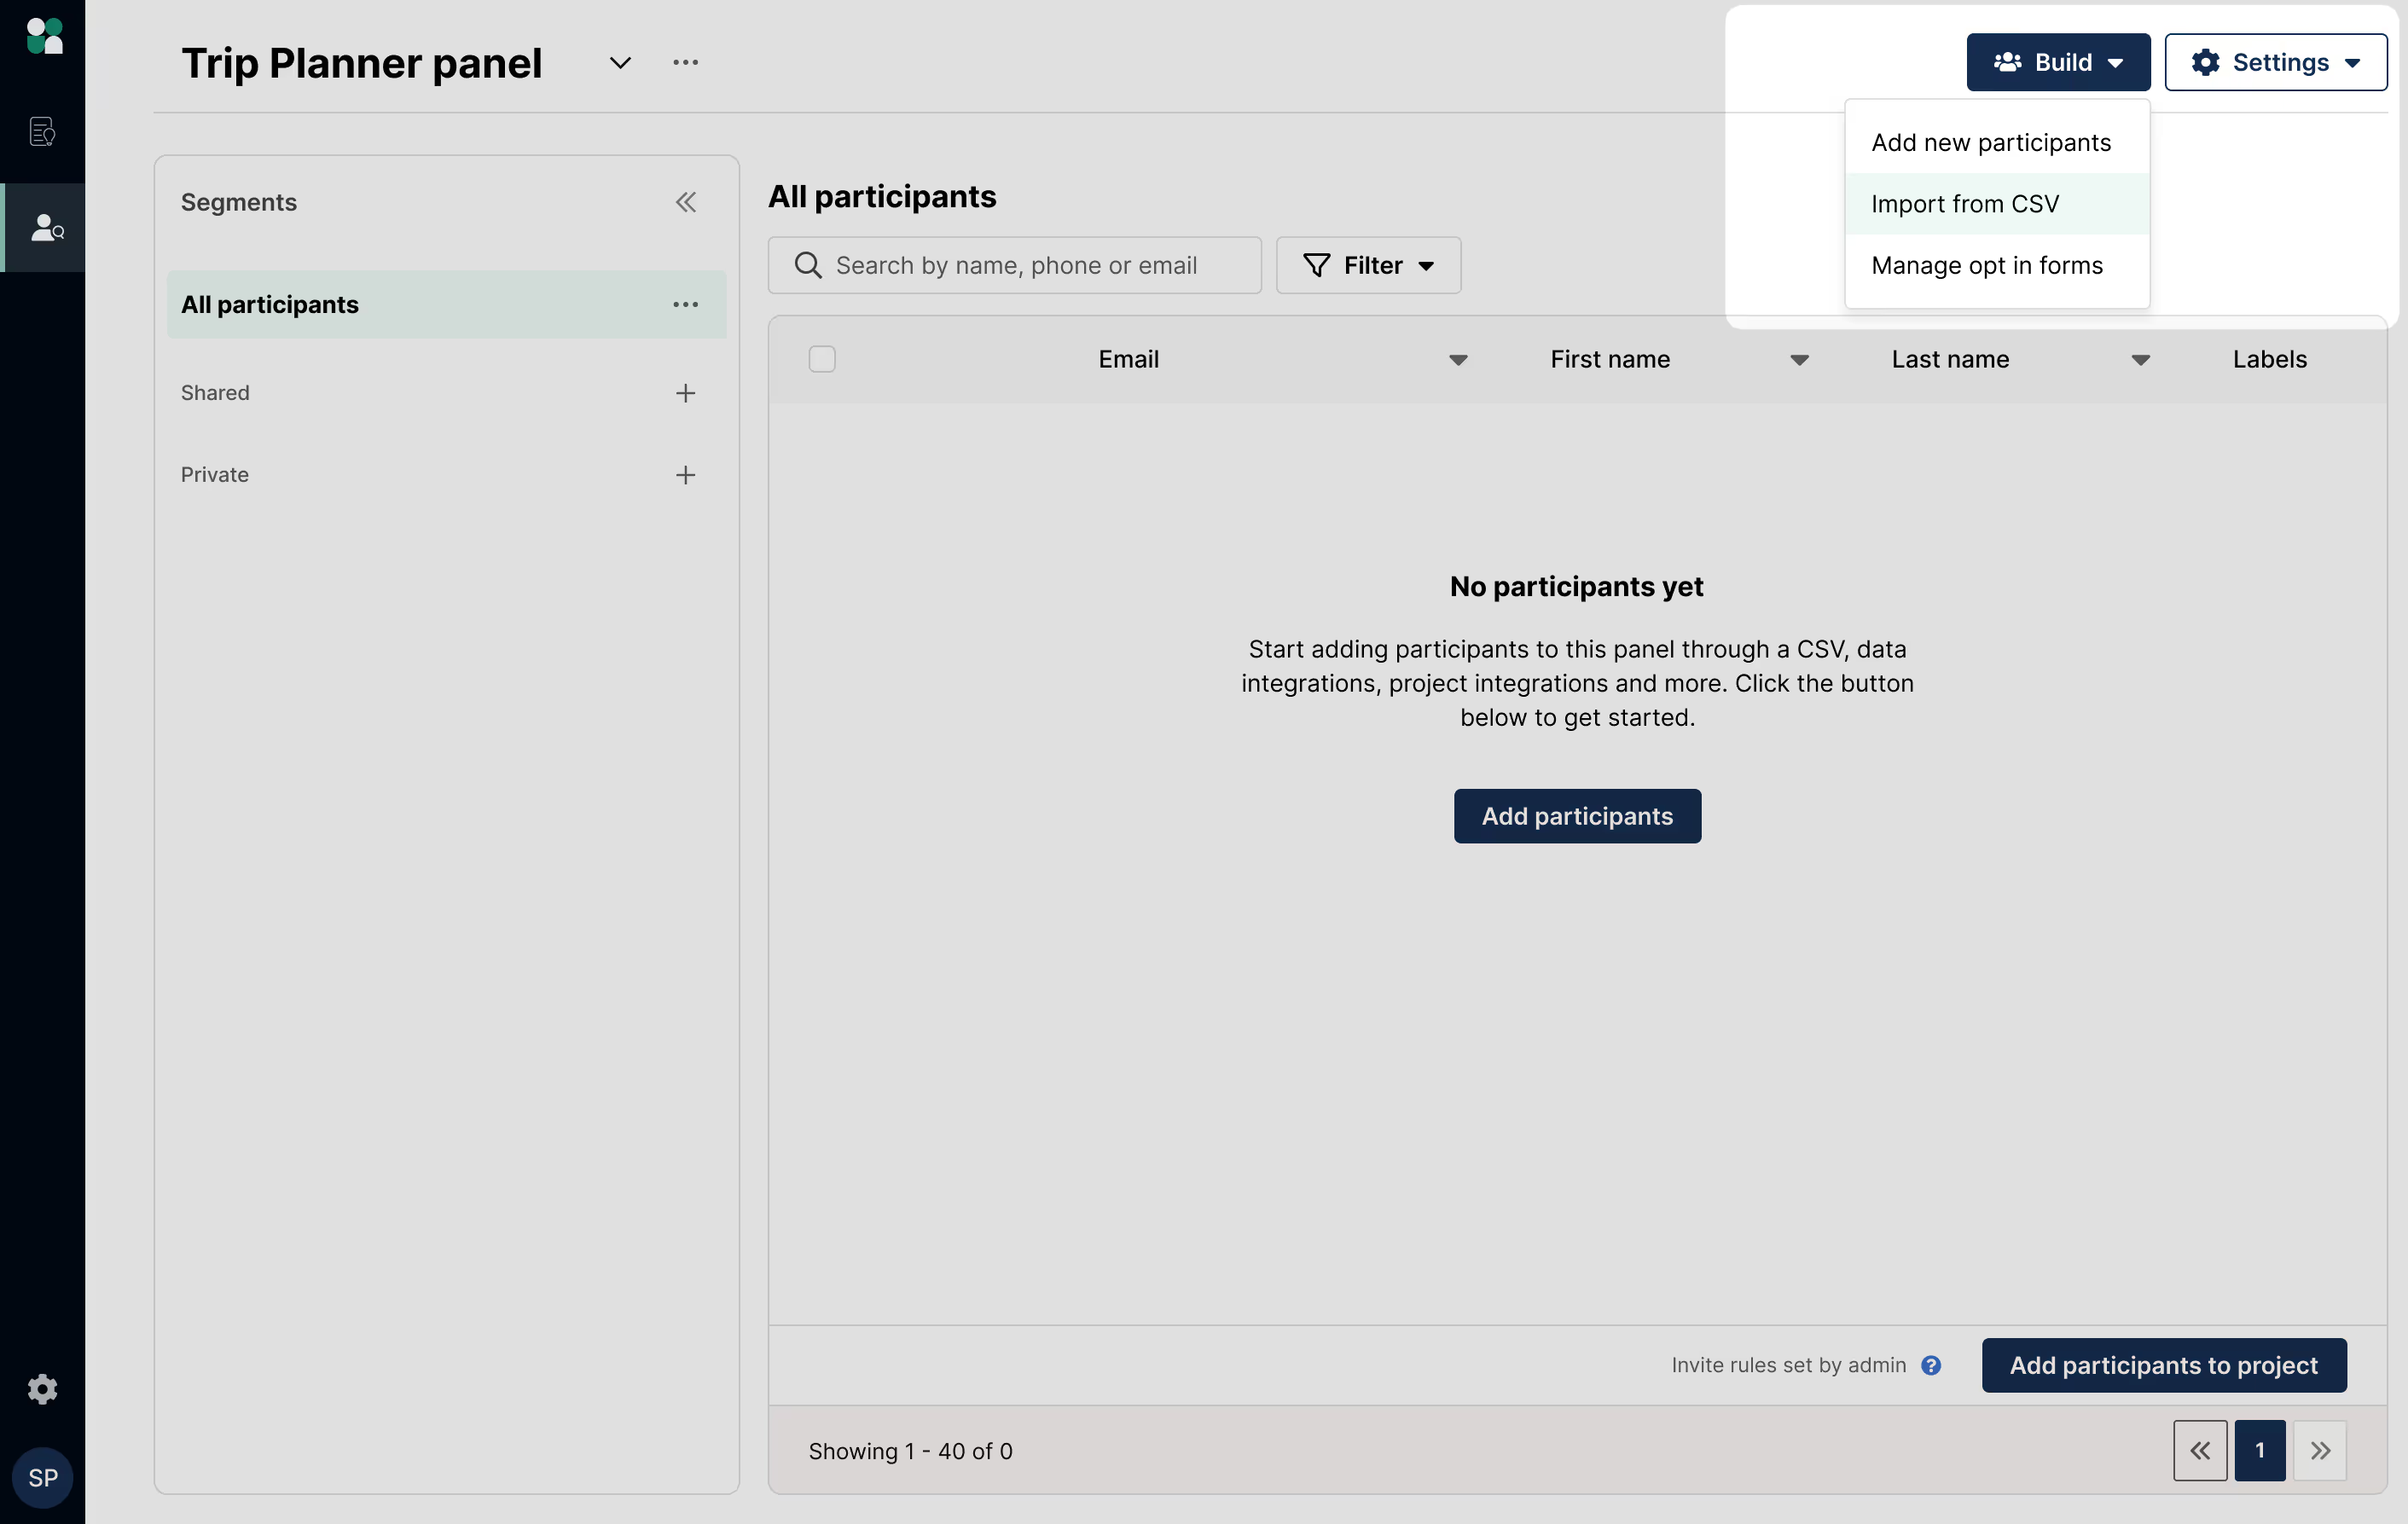
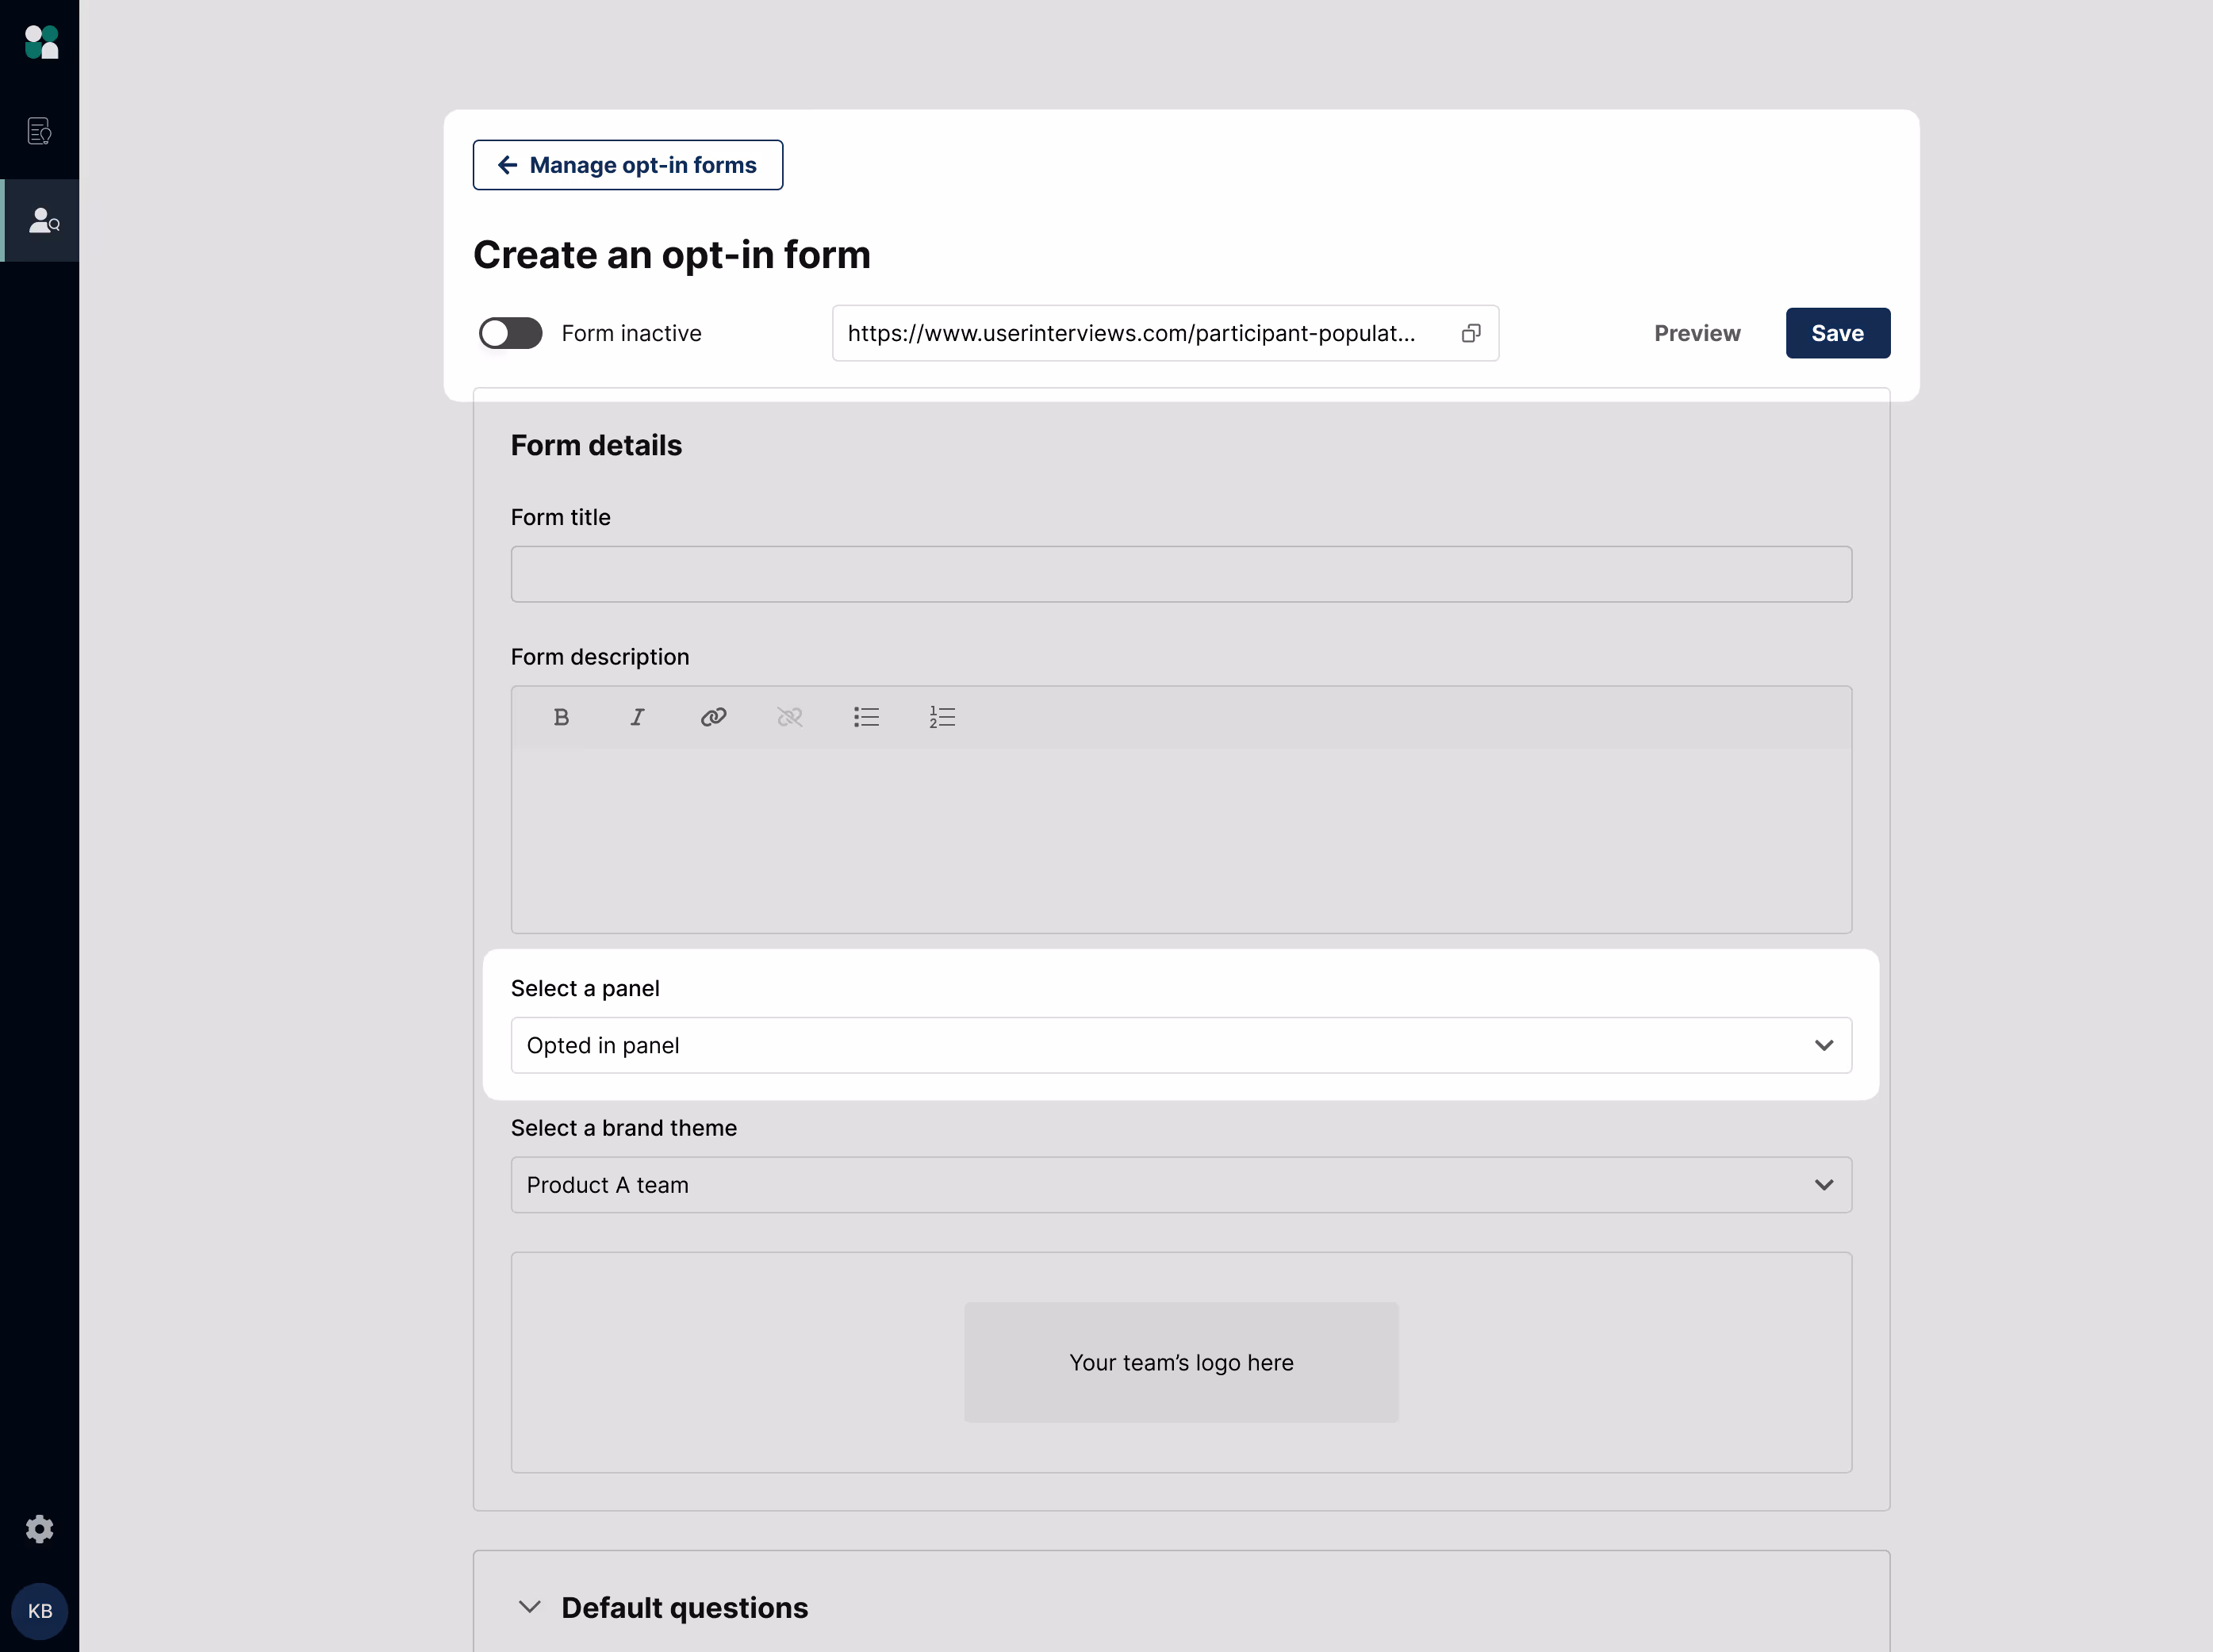
Curate an active Opted In Panel via opt-in forms: In the panel view, click the “Build” dropdown and select “Manage opt in forms.” You can create an opt-in form and link it to an “Opted In” panel so that new sign-ups are automatically added there.
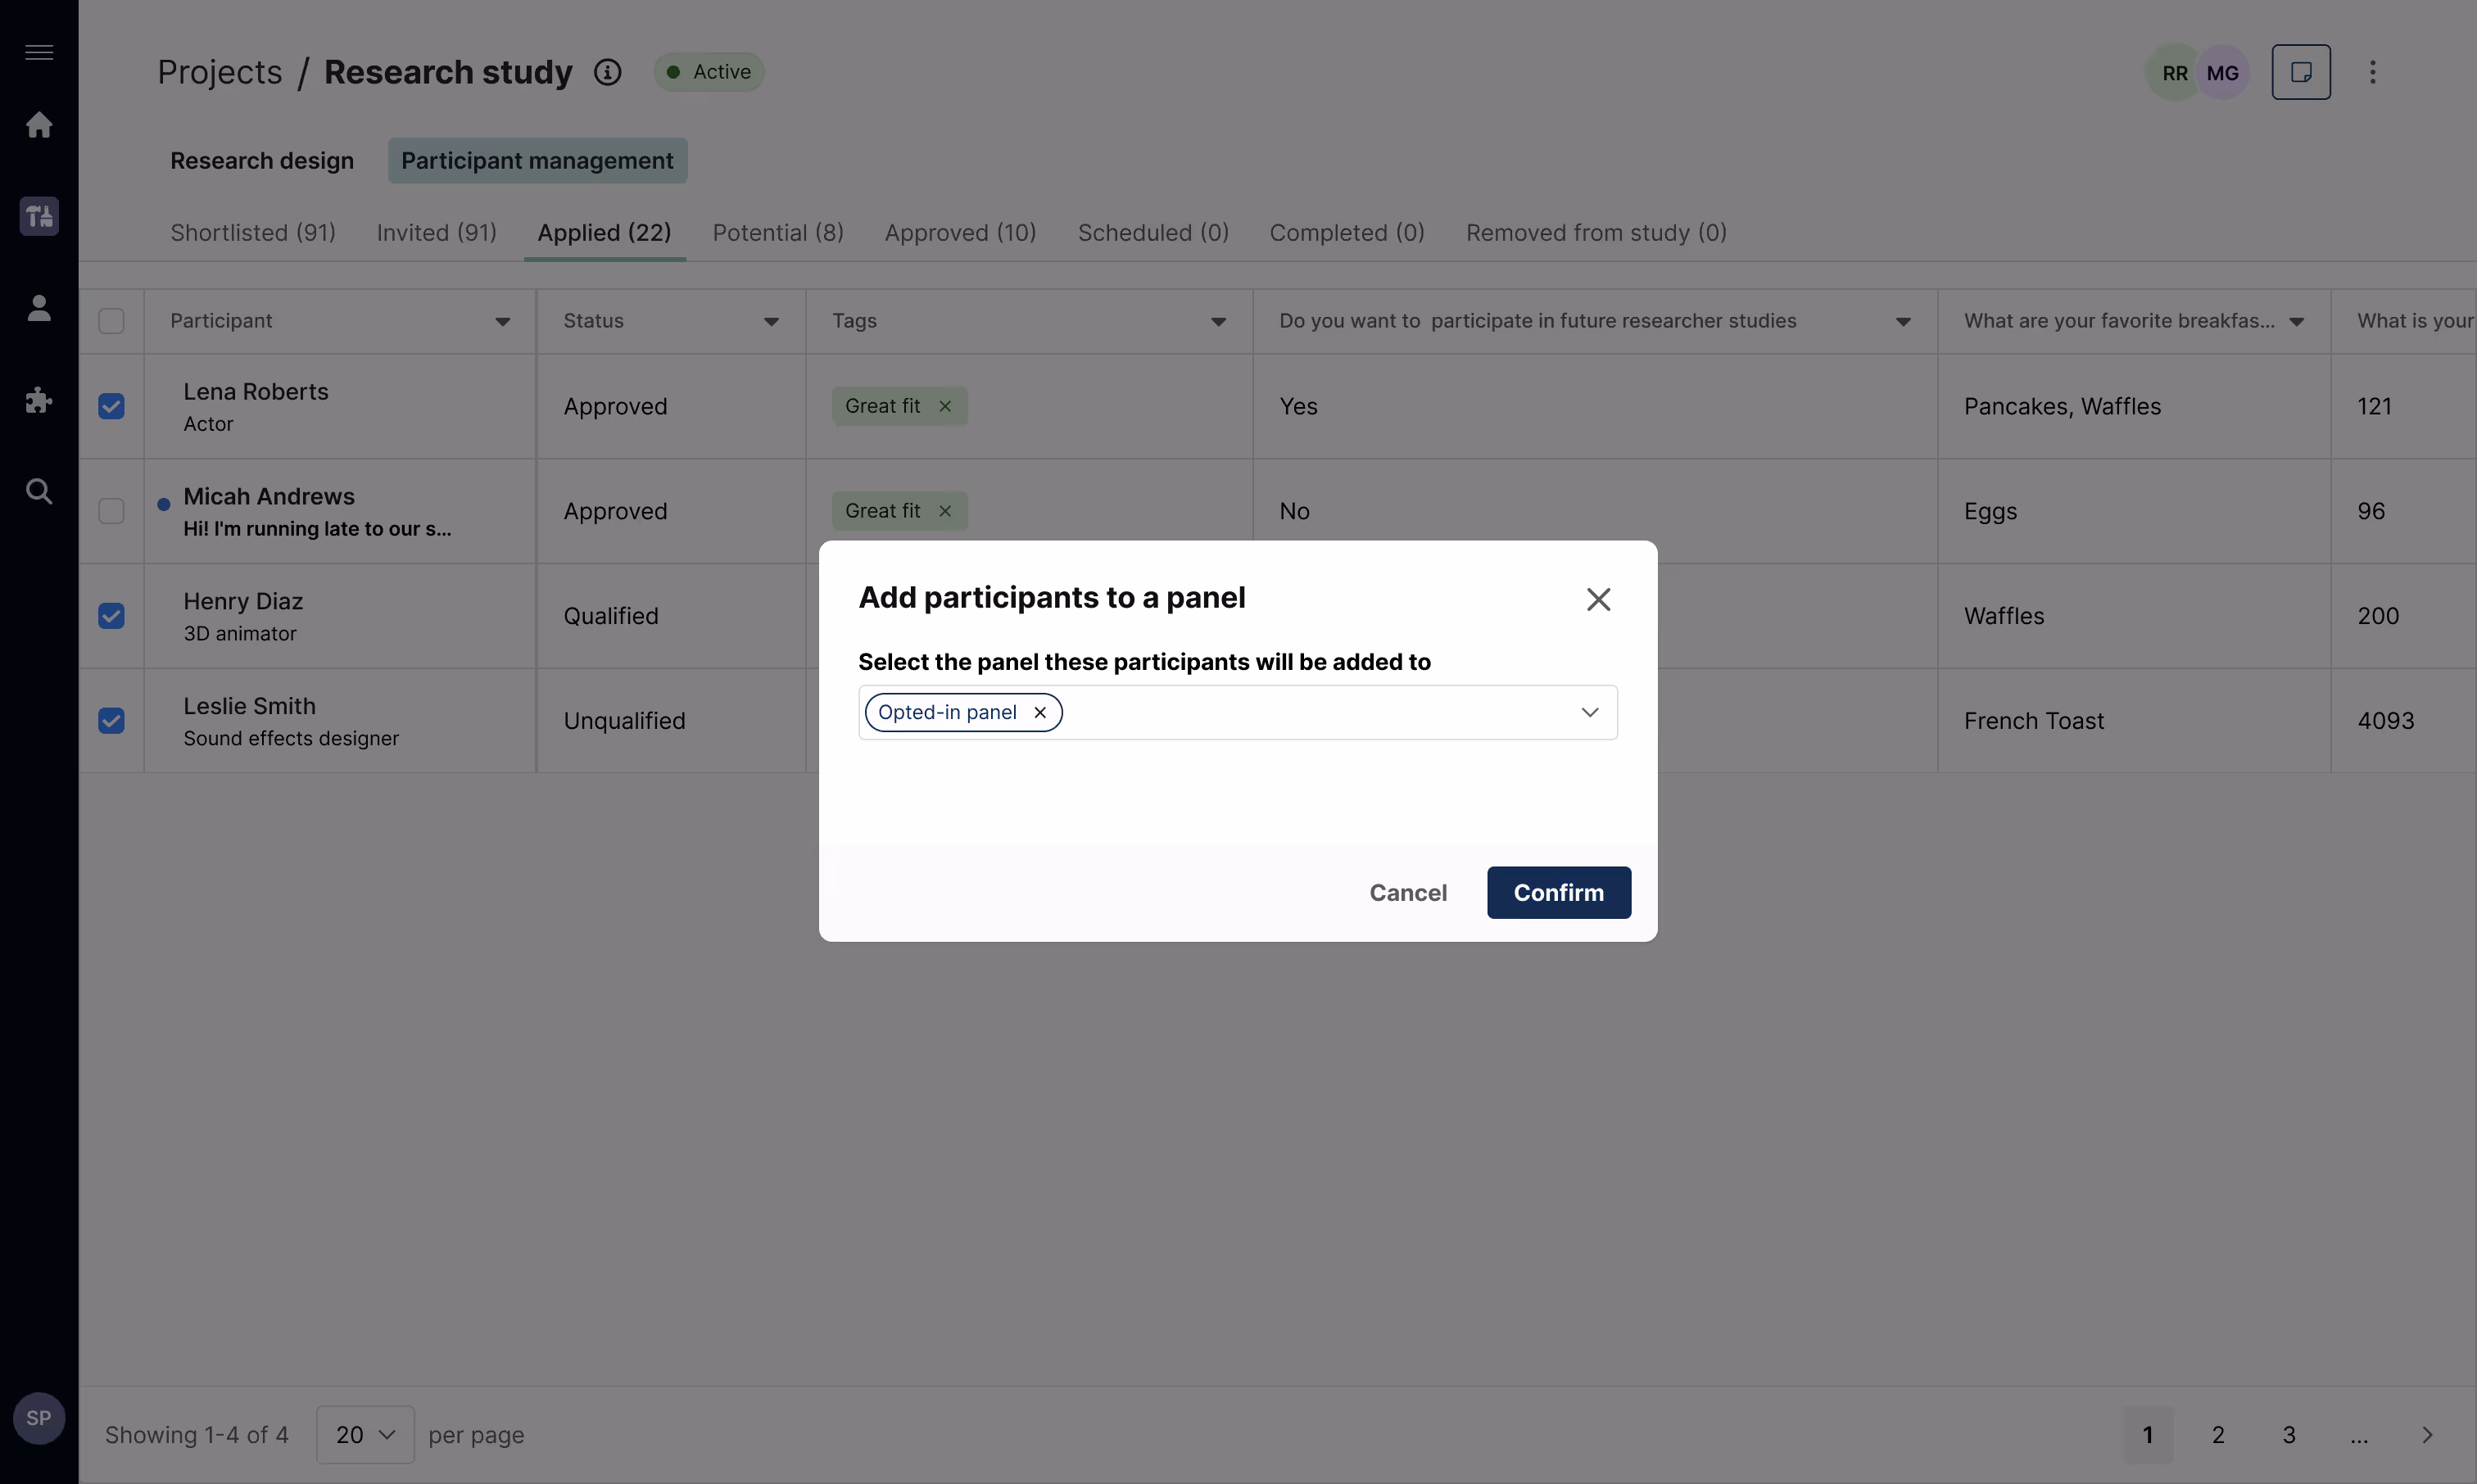
Move participants from the entire population into your panel: From the entire population view, use the checkboxes to select multiple (or all) participants to move to a specific panel in bulk.

Add participants from a project to your panel: From within a project, use the checkboxes to select participants, click the three dot menu, and select “Add to Research Hub Panel”. This is a quick way to bookmark participants who weren’t originally sourced through a panel (if they signed up through a project link, for example).
💡Tip: Include a screener question asking if participants want to opt-in for future research opportunities, select the people who responded “Yes”, and add them directly to an Opt-in panel.
How to use panels in Hub: Common use cases
1. Curate an active opt-in panel
Opt-in panels are a great way to increase participant responsiveness while respecting participant consent. Since these people have actively raised their hands for future research opportunities, they’re more likely to respond to invites (not to mention 7x more likely to complete a session compared to participants from a CSV upload).
Curating an opt-in panel also helps ensure that only willing participants who opted-in for research are shared with the team for future invites, and that others are excluded from the panel accordingly.
See our walkthrough for how to set up an opt-in panel:
2. Align panels with your organizational structure
You can also create panels that align with your company’s product lines, personas, geographic area, or any other way you’ve organized your internal teams.
This helps protect data privacy by limiting exposure and ensuring that participants are only available to researchers who need access to them for their work. It also streamlines recruitment by reducing noise and giving researchers access to a panel that’s curated specifically for their research—without needing to worry if they’re contacting the right users.
See our walkthrough for an example of how to set this up:
3. Protect high-value participants
Teams sometimes need to keep certain participants available for specific research opportunities. For example, you might have high-value participants who should only be contacted by trusted researchers, or very niche, hard-to-find participants that should be reserved for studies about that specific persona. You can use panels to organize and protect these high-value groups in Hub.
FAQ
What are panels in Hub?
Panels are custom groups of participants in Research Hub. They help you organize your participant database and control which team members have access to specific participants—making it easier to protect data and run targeted research.
Who can create and manage panels?
Only Owners and Administrators can create panels and manage panel permissions. These permissions can be set at both the team and individual researcher level.
Can I limit panel access to certain people?
Yes. When creating a panel, you can choose which teams or individual researchers in your organization have access to the panel.
Why should I use panels?
Panels let you:
- Restrict access to participant data to only the researchers who need it
- Create opt-in only groups for more engaged and responsive participants
- Organize participants by product, persona, geography, or other criteria
- Protect high-value or niche participants from over-contacting
When should I use panels vs. segments?
Panels are helpful when you need tighter permissions around who is allowed to view different participants (i.e. creating a panel of high-value participants for more strategic research-led projects shared only with your UXR team, or a broader panel for more exploratory research shared only with your Product & Design team). They are curated manually: you can select and add participants to panels, or set up opt-in forms to add them automatically.
Segments are helpful filters within a wider group (i.e. creating segments based on key characteristics such as dog/cat owners, or new/monthly/power users). Use segments when you want to guide researchers to different sets of participants, without needing to lock down access. Segments are dynamic, and will automatically add or remove participants based on your criteria and any changes in participant data.
How can I add participants to a panel?
There are various ways throughout your workflow to add participants to a panel.
- Opt-in form: Automatically collect sign-ups to a designated panel
- CSV upload: Import a list of participants
- Manual add: Add individual participants
- From a project: Add specific project participants to a panel
- From the entire population: Bulk move participants into a panel
Project participants will never be automatically added to a panel. You can view all participants in the organization in the “Entire population” view at any time.
What rules, settings, and other configurations are shared across panels?
- Invite rules, custom fields, and labels are shared across all panels and the entire population.
- Segments and opt-in forms belong to a single panel or the entire population. They are not shared across panels.
- Column configurations (hiding/re-ordering columns) are at the account level. They are not shared across panels—changes made by one user do not impact the view for others.


